How to Transform an Old Sweater into a Cozy Cat Bed
If your cat has a habit of curling up on your favorite knitwear, it is time to give them a permanent spot of their own. Learning how to transform an old sweater into a cozy cat bed is a sustainable way to recycle clothing while providing your pet with a scent-familiar sanctuary. This project requires minimal sewing skills and turns a simple piece of clothing into a high-comfort nest that mimics the feeling of being cuddled.
Making a Simple Cat Bed
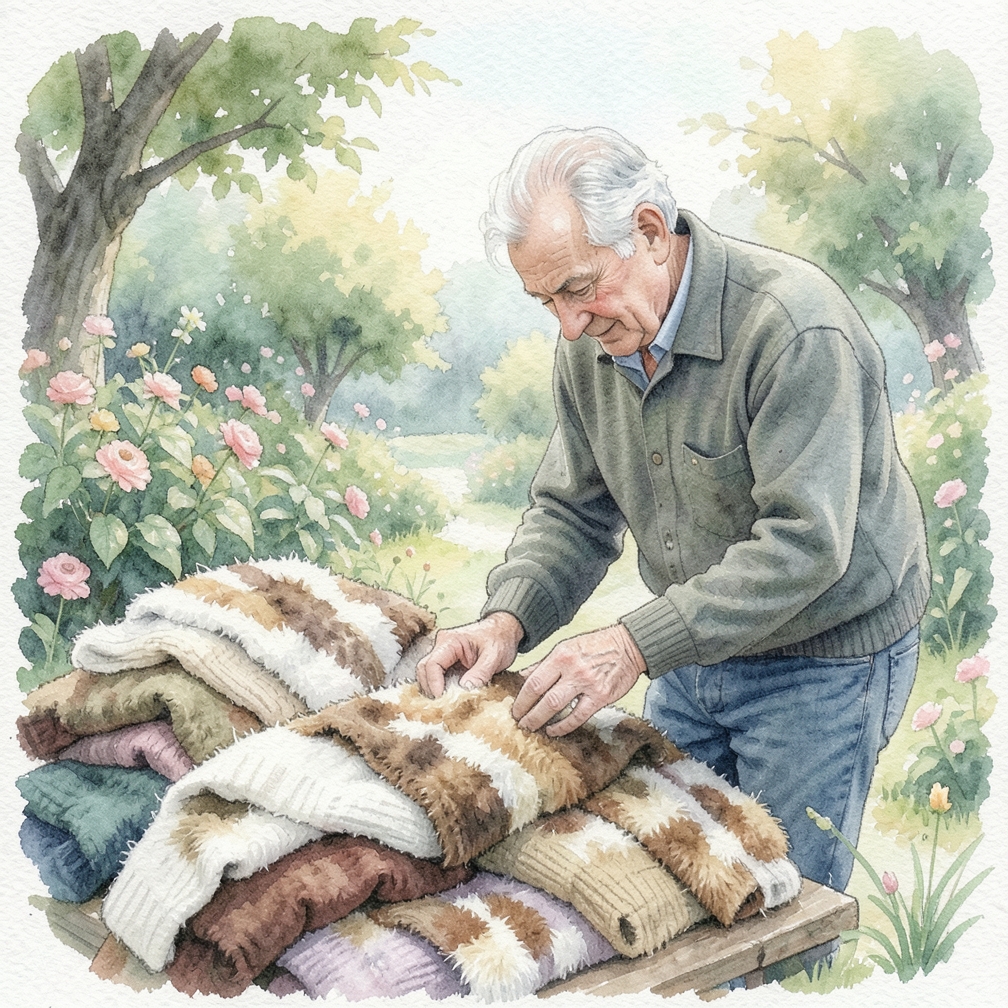
Find a soft sweater.
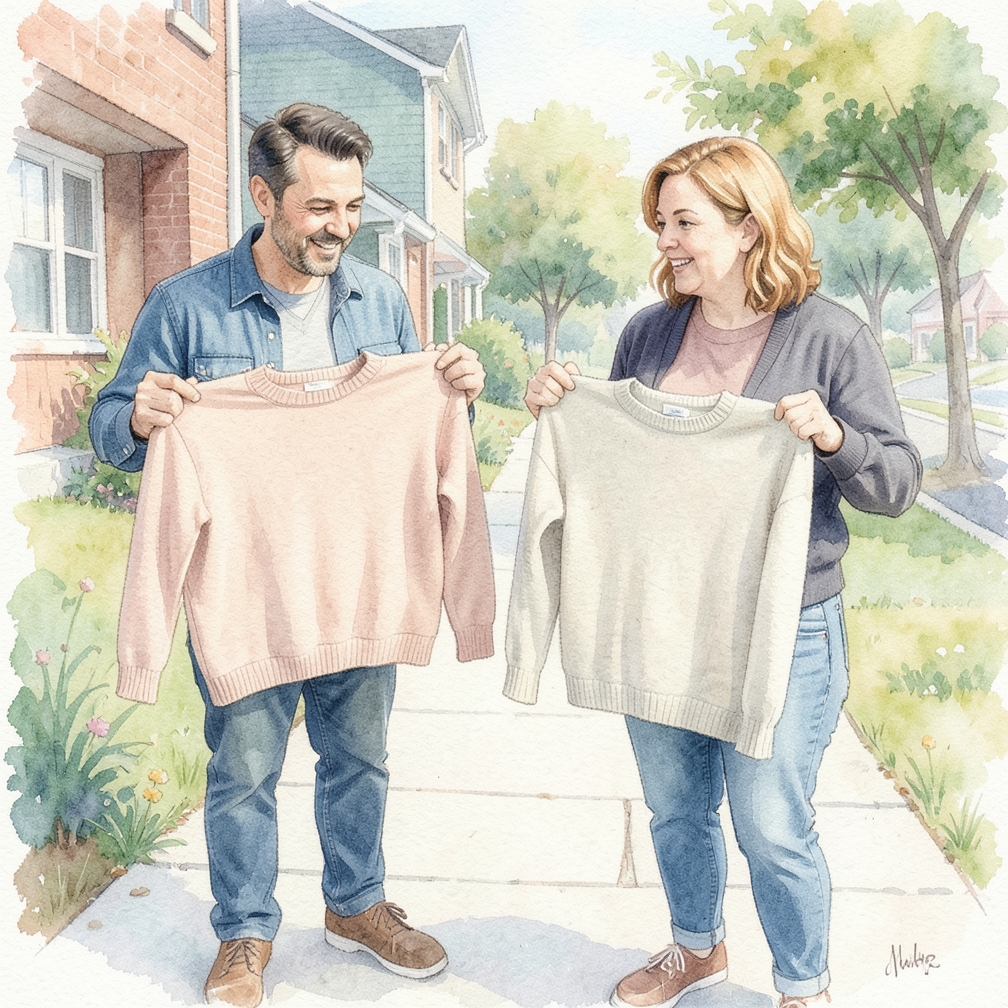
- A sweater that your cat already loves to sleep on would be a great choice for this.
- You can also use any old sweater, or even a brand-new one, as long as you don't mind cutting and sewing it back up.
- A sweater that your cat already loves to sleep on would be a great choice for this.
- You can also use any old sweater, or even a brand-new one, as long as you don't mind cutting and sewing it back up.
- A sweater that your cat already loves to sleep on would be a great choice for this.
Stuff the arms of the sweater with polyester fiberfill.
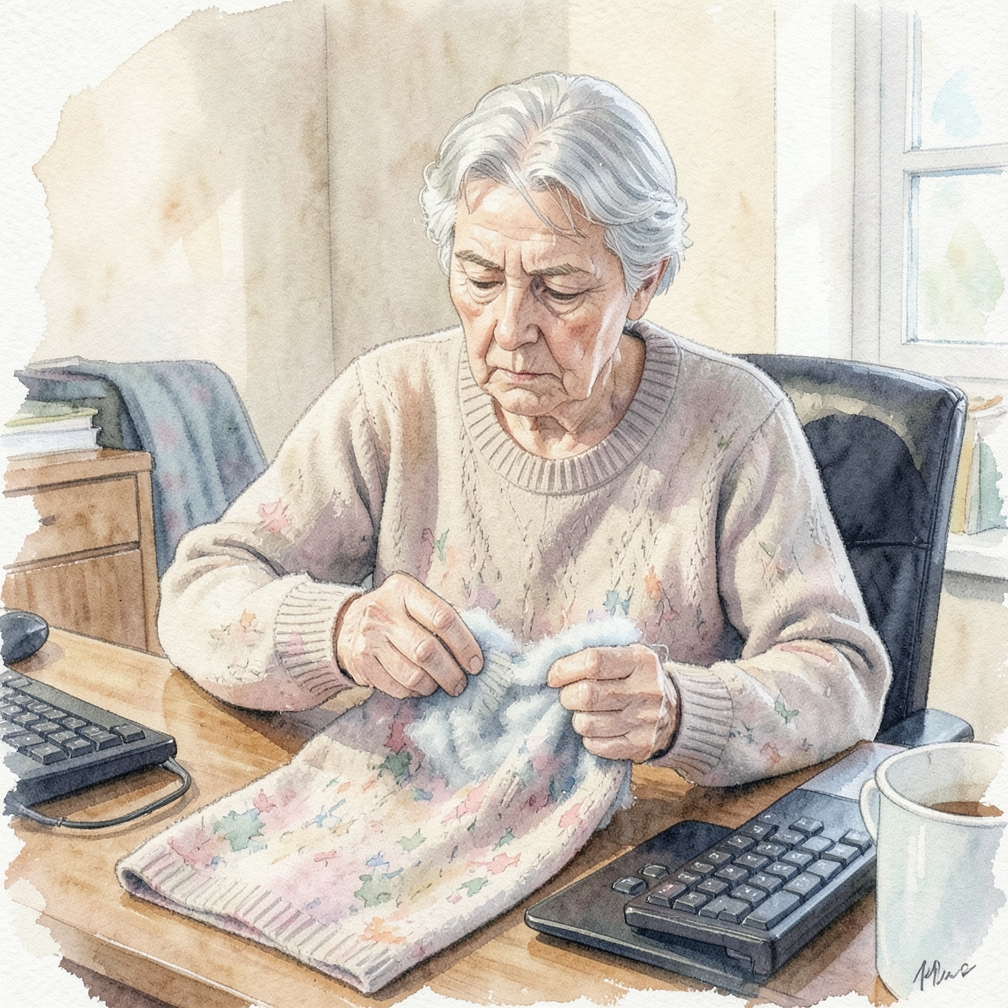
- Make sure that the stuffing meets the body of the sweater, where the neckline used to be.
- Use enough stuffing to fill the arms, but not so much that they stretch out and become bulky.
- [3] X Research source
- Make sure that the stuffing meets the body of the sweater, where the neckline used to be.
- Use enough stuffing to fill the arms, but not so much that they stretch out and become bulky.
Cut the excess material off of the bottom of the sweater, if needed.
- Spread the sweater onto a flat surface.
- Set the looped arms on top, so that the cuff is facing the bottom.
- Trace around the outer edge of the looped arms with tailor's chalk.
- Cut along the line that you drew.
- [7] X Research source
Sew the sweater to the arms using a whipstitch.
- Flip the sweater over.
- Sew the body of the sweater to the looped arms using a yarn needle, yarn, and a whipstitch.
- Start at one armpit and end at the other.
- [8] X Research source
- Flip the sweater over.
Making a Felted Patchwork Pillow
Find some sweaters that are at least 50% animal fiber.
- This is very important, otherwise the sweaters will not felt.
- Animal fiber includes alpaca, cashmere, and wool.
- This is very important, otherwise the sweaters will not felt.
- Animal fiber includes alpaca, cashmere, and wool.
- This is very important, otherwise the sweaters will not felt.
Felt the sweaters using a hot cycle on your washing machine.
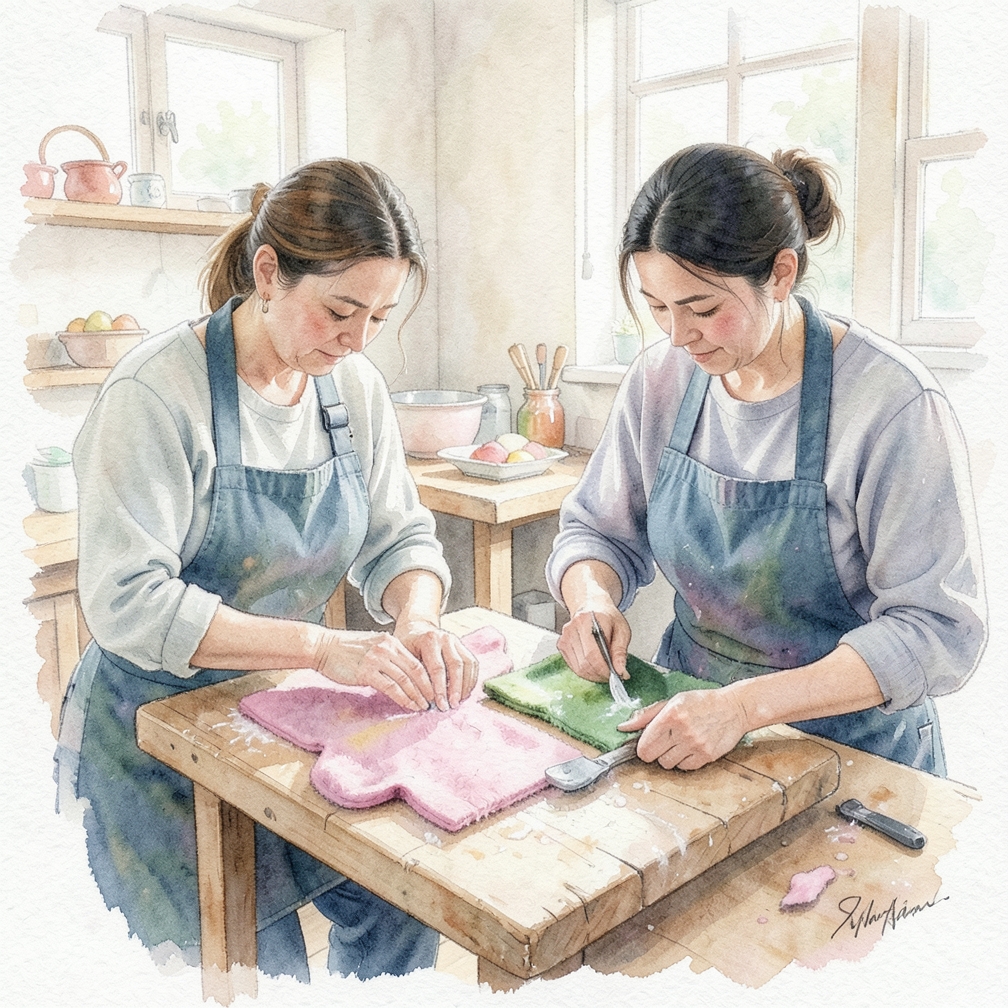
- Wash the sweaters in a washing machine using hot water and a little bit of detergent.
- The combination of heat, agitation, and detergent will cause the fibers to felt together.
- Wash the sweaters in a washing machine using hot water and a little bit of detergent.
- The combination of heat, agitation, and detergent will cause the fibers to felt together.
- Wash the sweaters in a washing machine using hot water and a little bit of detergent.
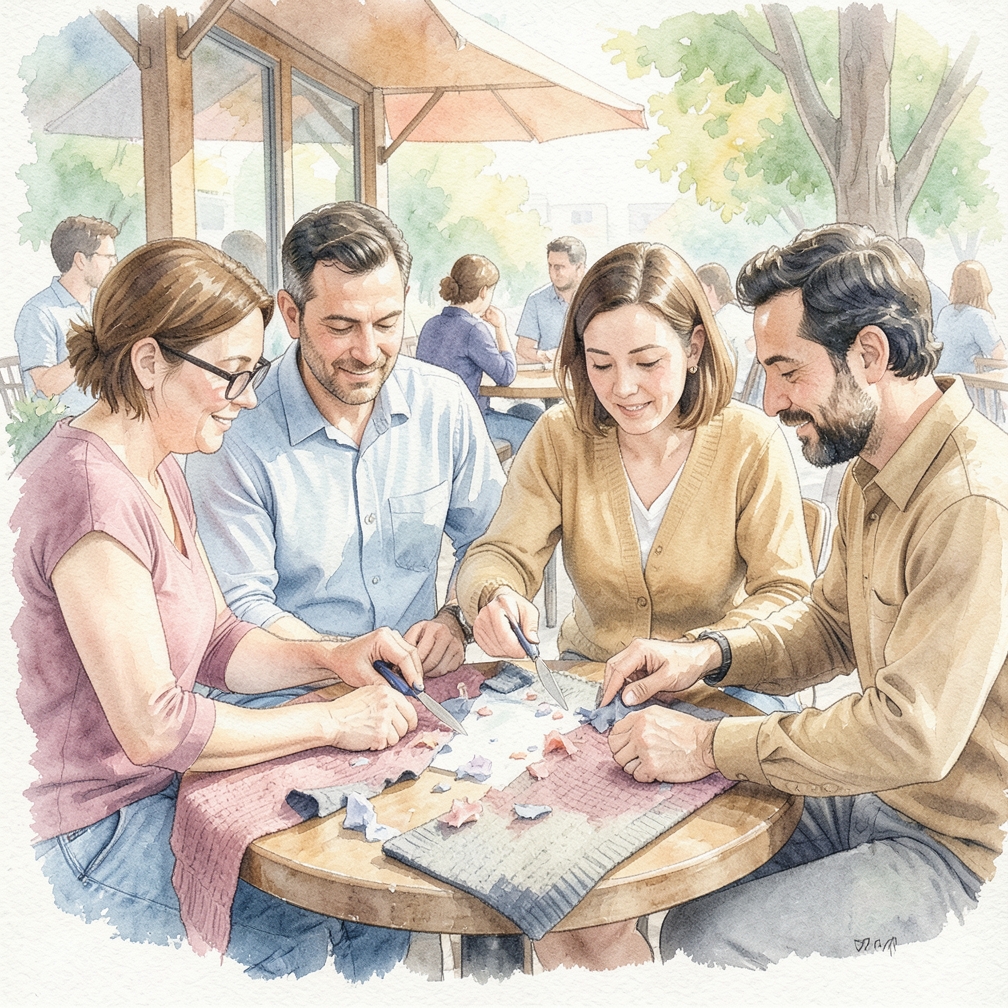
Cut your sweaters into squares and rectangles.
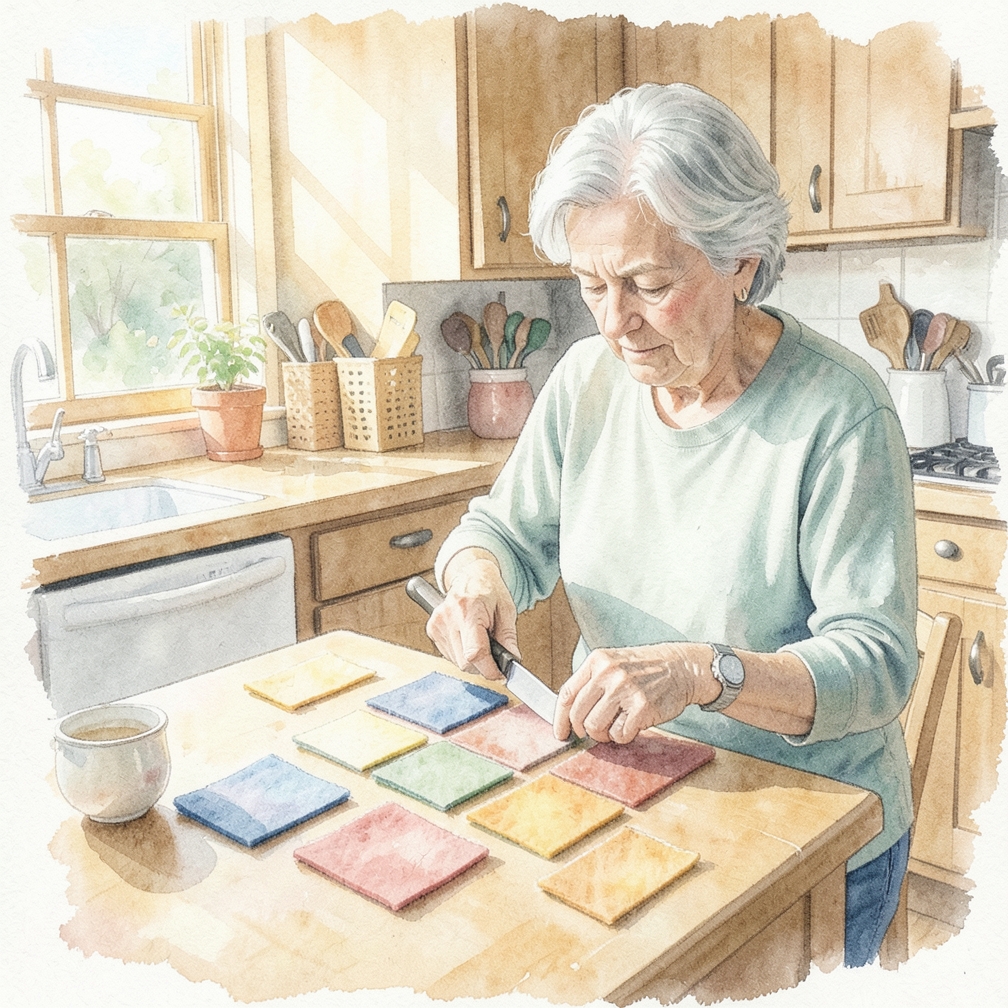
- Cut them in different sizes, about ½ inch (1.27 centimeters) larger than you want them to be; this will allow for seam allowances.
- You need to cut enough squares and rectangles to cover the front and back of your pillow.
- Cut them in different sizes, about ½ inch (1.27 centimeters) larger than you want them to be; this will allow for seam allowances.
- You need to cut enough squares and rectangles to cover the front and back of your pillow.
- Cut them in different sizes, about ½ inch (1.27 centimeters) larger than you want them to be; this will allow for seam allowances.
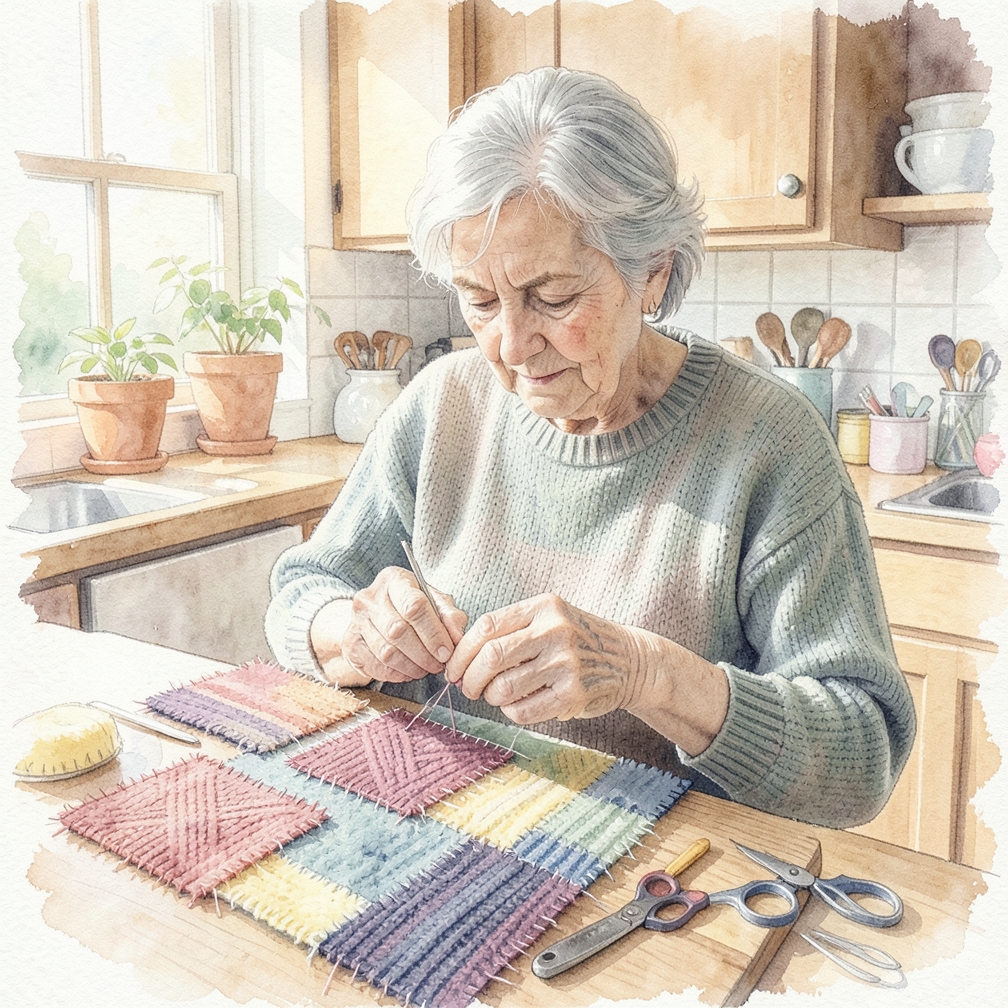
Sew the pieces together to make your front and back panels.
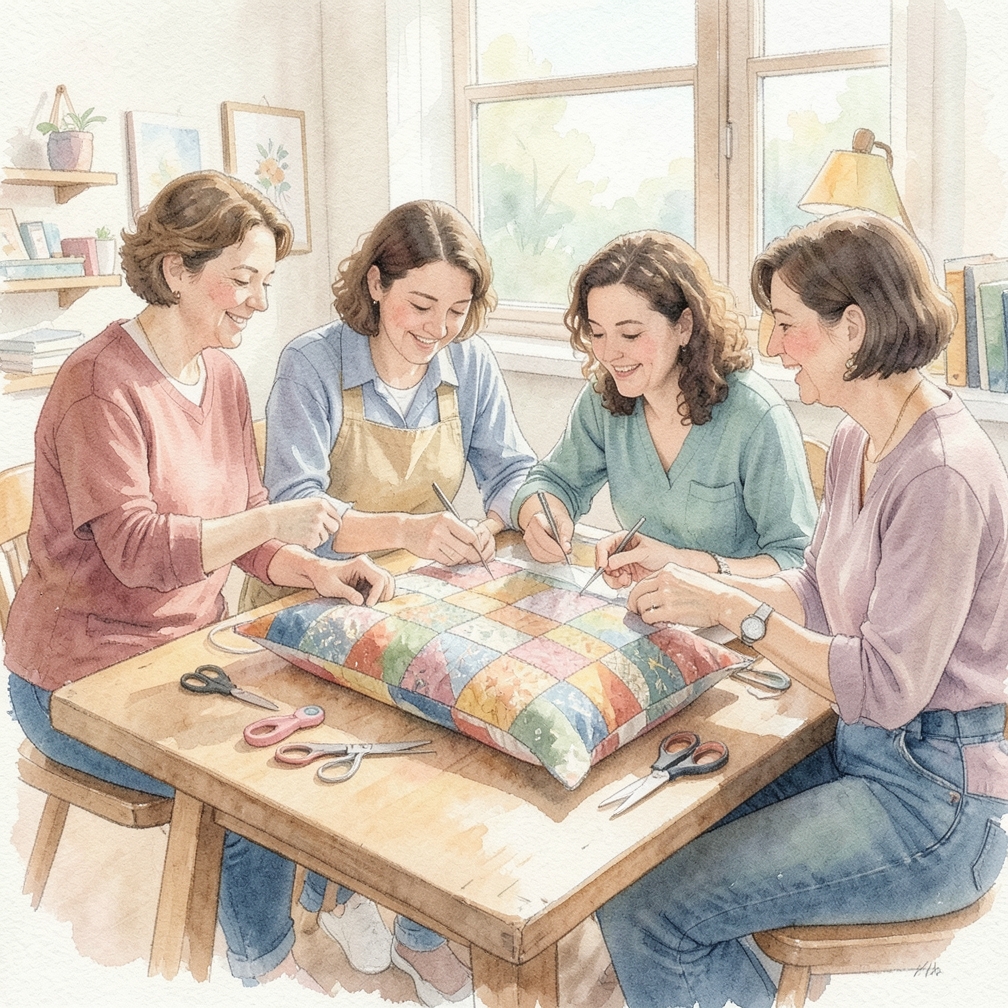
- Make sure that you are sewing them right-sides together, and that you are using a ½-inch (1.27-centimeter) seam allowances.
- Work one section at a time, removing the pins as you sew.
- Do not sew the front and back panels together just yet, however.
- Make sure that you are sewing them right-sides together, and that you are using a ½-inch (1.27-centimeter) seam allowances.
- Work one section at a time, removing the pins as you sew.
Sew the panels together.

- Pin the panels together with the right sides facing in.
- Sew around them using a 1-inch (2.54-centimeter) seam allowance.
- Back stitch at the start and end of your sewing.
- Pin the panels together with the right sides facing in.
- Sew around them using a 1-inch (2.54-centimeter) seam allowance.
Pro Tips
- Add a small piece of fleece fabric inside the center for extra warmth during winter months.
- If you have multiple old sweaters, you can layer them for a thicker, more durable bed.
Warnings
- Never use stuffing that contains small beads or pellets that could be ingested by the cat.
- Ensure all loose threads are trimmed and knotted securely to prevent the cat from unraveling the bed.
Community Q&A
Q Can I wash the sweater bed after it is made?
A Yes, but it is recommended to hand wash it or use a gentle cycle in a laundry bag to prevent the stuffing from shifting or the seams from ripping.
References
Was this guide helpful?
42 people found this helpful
HowDadDo Around the World
Subscribe to the HowDadDo Newsletter
Get expert tips, weekly how-to guides, and dad wisdom delivered straight to your inbox. No spam, just good stuff.
Help us build the world's best
dad manual.
Every guide on HowDadDo is written and fact-checked by real people — no AI-generated fluff. Join our community of experts helping dads figure life out.