How to Sit with SI Joint Pain to Reduce Discomfort
Sitting for extended periods can be a challenge when you are dealing with sacroiliac (SI) joint dysfunction. Because the SI joints connect your hip bones to your sacrum, any misalignment or inflammation can lead to radiating low back and hip pain. Learning how to sit with SI joint pain is essential for maintaining productivity and reducing the strain on your pelvis. By optimizing your posture and incorporating strategic movement, you can alleviate pressure on the joint and prevent flare-ups during your workday.
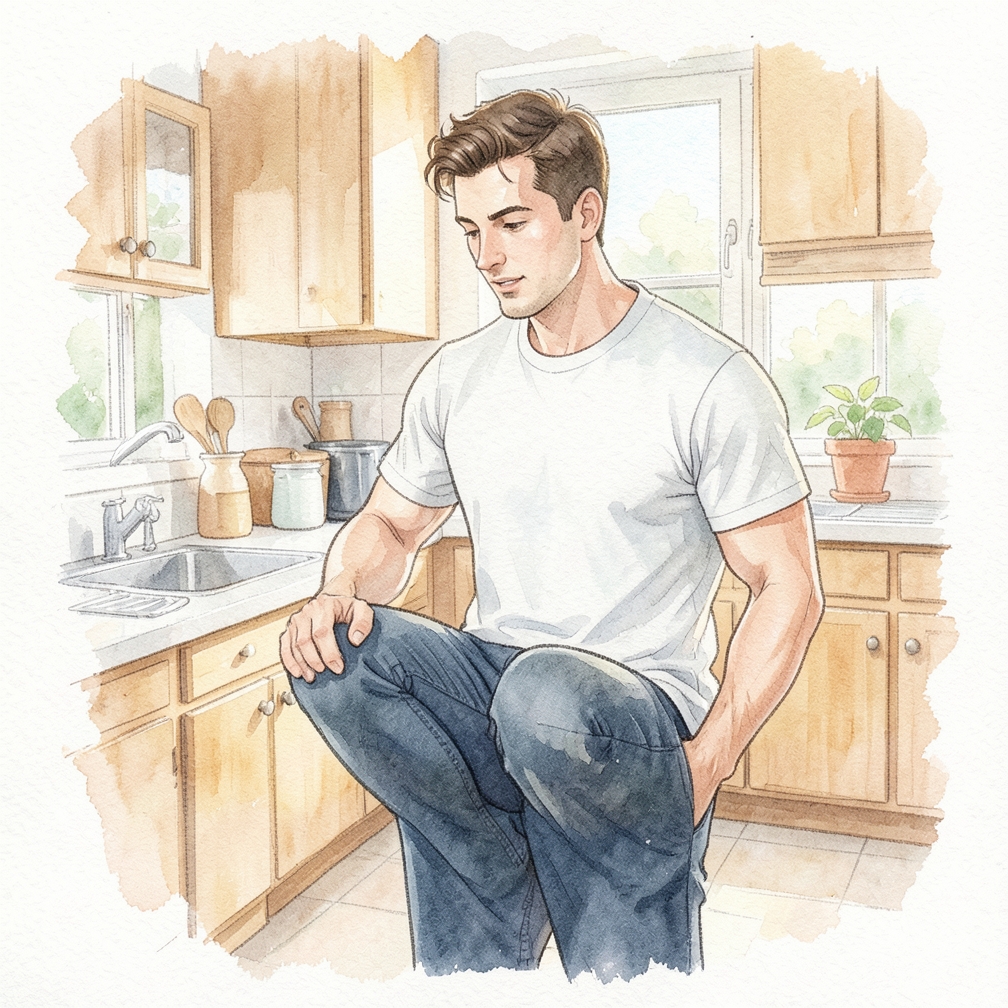
Push your chest out and keep your shoulder blades relaxed.
Good posture

- in your upper body reduces stress on your SI joints.
- To find good posture in a seated position, imagine a string pulling your head up towards the ceiling.
- Puff out your chest to exaggerate the curve in your back.
- Then, release the exaggerated position by about 10° for the ideal seated posture.
- [1] X Trustworthy Source Cleveland Clinic Educational website from one of the world's leading hospitals Go to source
Separate your knees slightly.
Pull your knees slightly apart to relax your hip flexors.
- The hip flexors are muscles that can pull on your SI joint and pull the lower spine out of alignment if they're tight.
- [3] X Research source In addition to creating a gap between your two knees, keep a gap between the backs of your knees and the front of your seat to keep your pelvis from excessively tilting.
- [4] X Trustworthy Source Mayo Clinic Educational website from one of the world's leading hospitals Go to source
- The hip flexors are muscles that can pull on your SI joint and pull the lower spine out of alignment if they're tight.
- [3] X Research source In addition to creating a gap between your two knees, keep a gap between the backs of your knees and the front of your seat to keep your pelvis from excessively tilting.
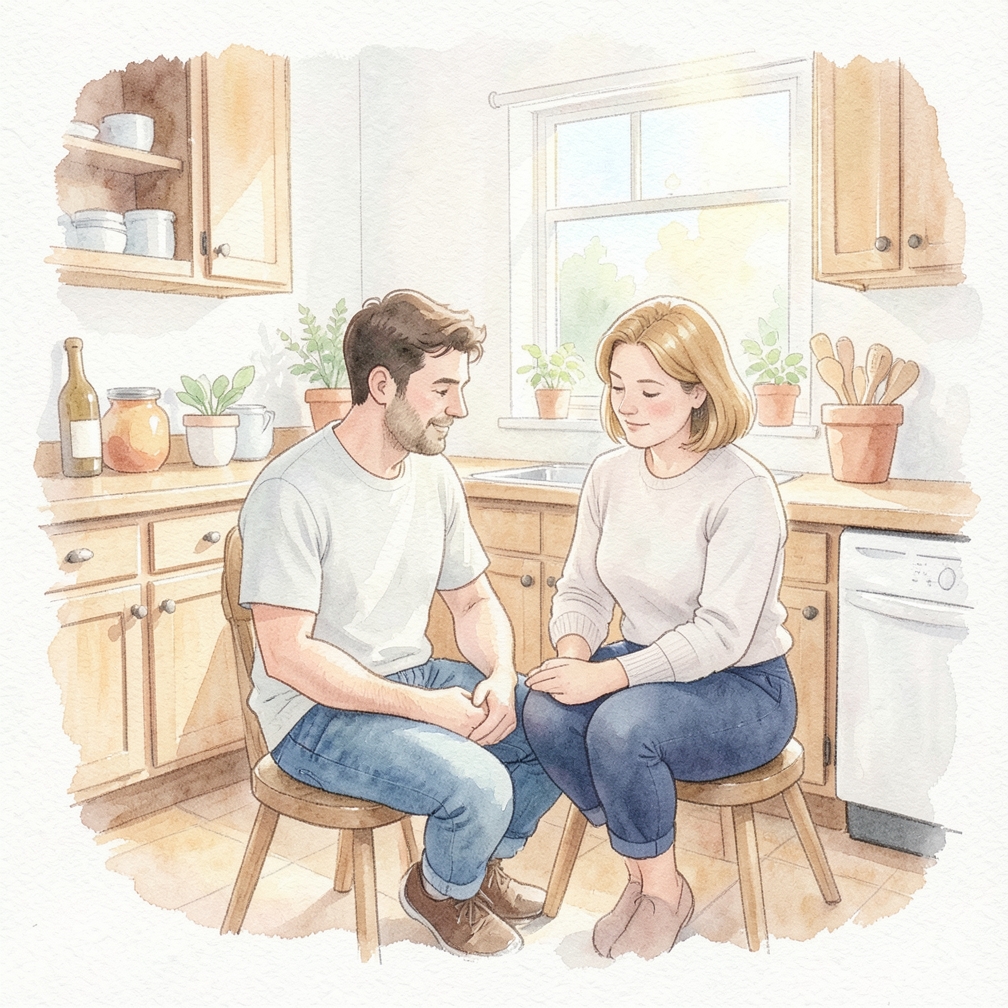
Keep your weight distributed evenly.
Position your hip bones so that they’re level with each other.
- Avoid crossing your legs to make sure one side of your pelvis isn’t tilted higher.
- [5] X Trustworthy Source Cleveland Clinic Educational website from one of the world's leading hospitals Go to source By distributing your weight evenly, you make it easier for your SI joints to help balance and support your upper body.
- Avoid crossing your legs to make sure one side of your pelvis isn’t tilted higher.
Add a pad or cushion behind your lower back.
Try this out if your chair doesn’t provide enough lumbar support.

- Slide a rolled-up towel or cushion behind your lower back to help maintain the natural curves of your spine.
- The extra support of a cushion can reduce the pressure on your joints–and reduce your SI joint pain while sitting.
- [6] X Trustworthy Source Cleveland Clinic Educational website from one of the world's leading hospitals Go to source
- Slide a rolled-up towel or cushion behind your lower back to help maintain the natural curves of your spine.
- The extra support of a cushion can reduce the pressure on your joints–and reduce your SI joint pain while sitting.
Take frequent breaks when you’re sitting.
For every 30 minutes of sitting, stand for 5 minutes.
- Breaking long periods of sitting is proven to reduce lower back pain–one of the main symptoms of SI joint dysfunction.
- Taking a small break from sitting even helps reduce brain fog and fatigue.
- [7] X Trustworthy Source PubMed Central Journal archive from the U.S.
- National Institutes of Health Go to source
- Breaking long periods of sitting is proven to reduce lower back pain–one of the main symptoms of SI joint dysfunction.
Use a seated backbend to stretch your back.
Stretch as you sit

- to get relief from low back pain.
- SI joint pain can radiate down through your low back and buttocks.
- [8] X Trustworthy Source Mayo Clinic Educational website from one of the world's leading hospitals Go to source To get some relief, shift to the front of your chair, and reach your arms backward.
- Grab the back of your chair, and pull your shoulder blades back as you gently press your chest out.
- Hold this position for 1-3 breaths.
Twist your upper body to loosen up your spine.
A seated upper-body twist helps your upper back flexibility.
- Working on your spinal mobility will help counteract the effects of SI joint dysfunction on your posture.
- [10] X Trustworthy Source PubMed Central Journal archive from the U.S.
- National Institutes of Health Go to source In turn, better posture equals less pain!
- Cross your arms in front of your body with your hands on your opposite shoulders.
- Turn your upper body to the left, as far as it’ll go, for 5 seconds.
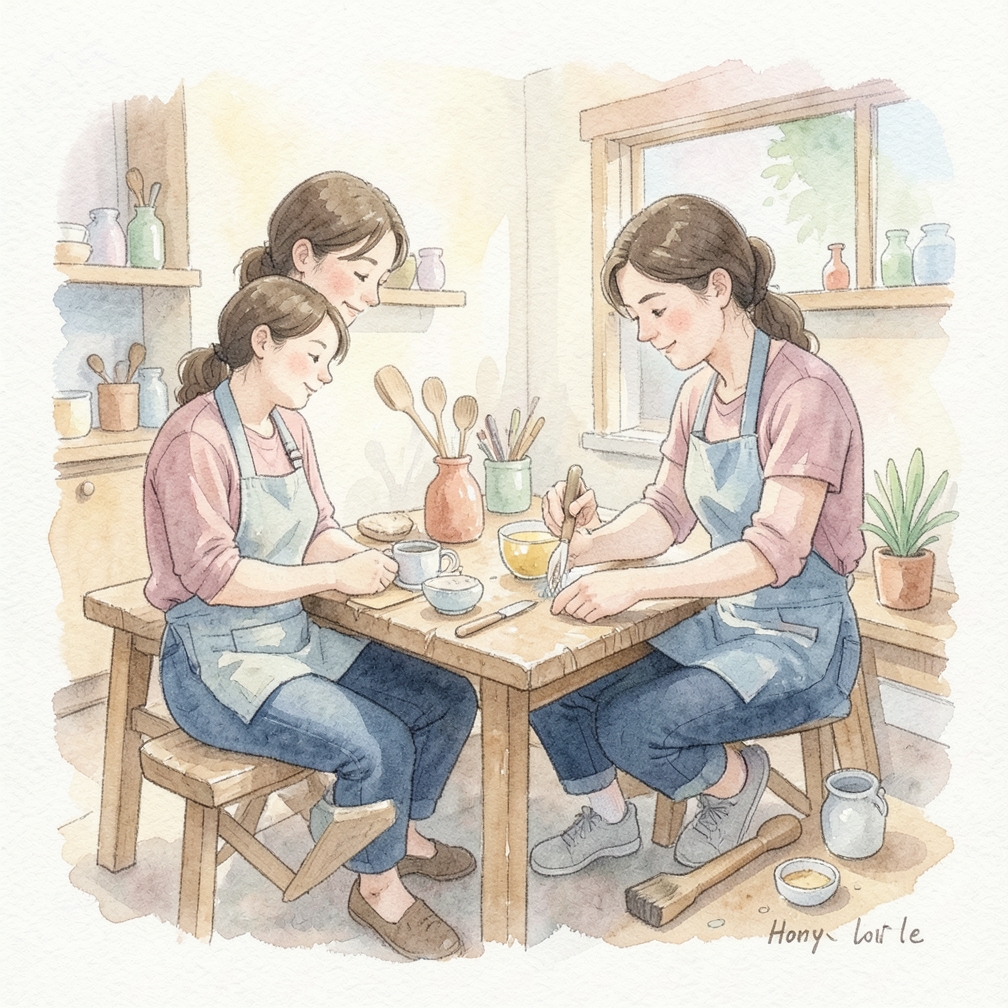
Use a seated toe touch to stretch your hamstrings.
Your hamstrings are one of the key muscles that stabilize the SI joints.

- When muscles that support the SI joint are tight or inactive, it’s easier for the joint to cause you pain.
- [12] X Research source To perform this stretch while you’re seated, keep one leg bent and straighten the other so that your heel touches the ground.
- Lean forward to try and touch the toes of your straightened leg.
- If you can’t touch your toes, that’s okay!
- Just lean as far as you can for 10-30 seconds.
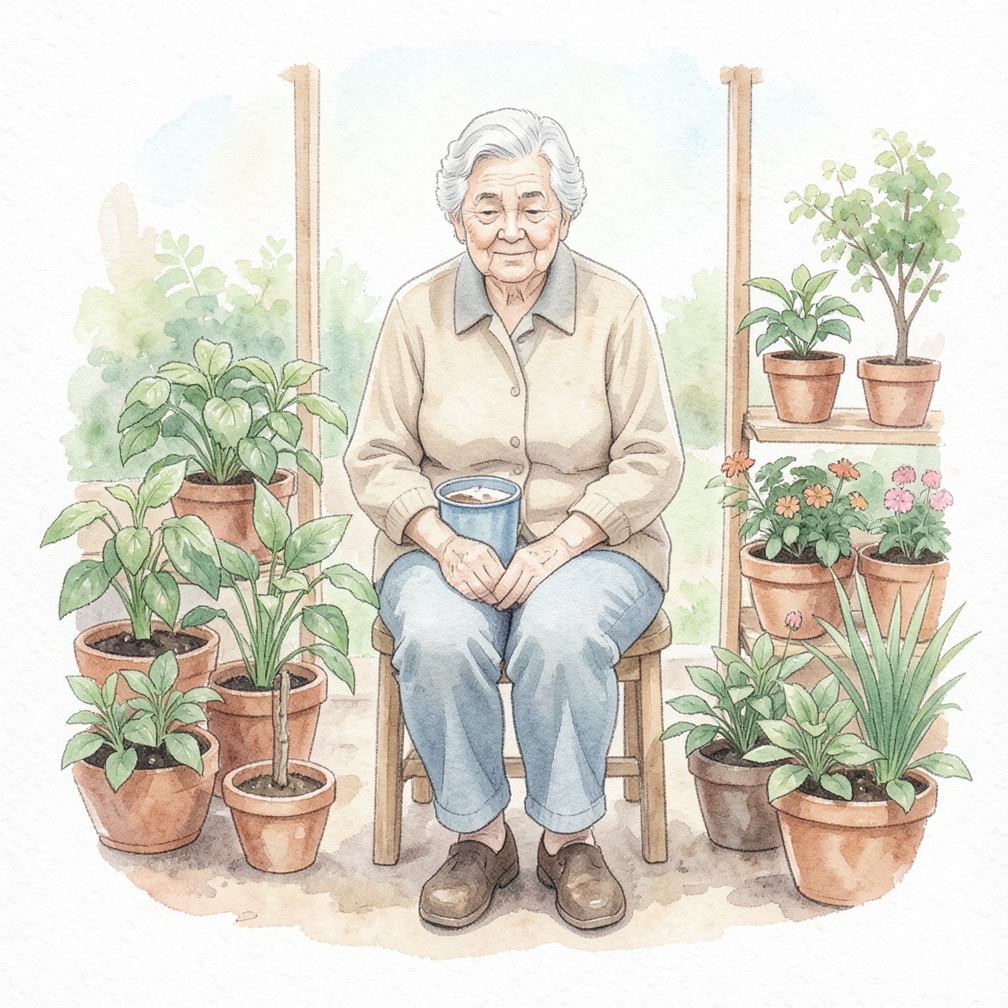
Try the “tailor’s sit” if you’re sitting on the floor.
This seated stretch is especially helpful if you’re pregnant and experiencing SI joint pain.
- However, anyone with SI joint pain can benefit from a tailor’s sit.
- To sit in the tailor’s position, keep your back straight and let the soles of your feet come together.
- The position should look a bit like a butterfly stretch.
- A tailor’s sit stretches your thigh, pelvic, and hip muscles to relieve pelvic discomfort and SI joint pain.
- [14] X Research source
Use a standing desk to prevent pain.
Move between sitting and standing to change up your posture.

- While more research is needed, some studies show that standing desks can reduce chronic low back pain by up to 50%.
- [17] X Trustworthy Source PubMed Central Journal archive from the U.S.
- National Institutes of Health Go to source Set up your standing desk so that your elbows can be bent to 90°, with your wrists flat on the desk.
- [18] X Research source
- While more research is needed, some studies show that standing desks can reduce chronic low back pain by up to 50%.
Warnings
- Avoid crossing your legs for long periods, as this is one of the primary triggers for SI joint misalignment.
Community Q&A
Be the first to ask a question about this guide.
References
- https://www.physiopedia.com
- https://my.clevelandclinic.org/health/articles/4485-back-health-and-posture
- https://weillcornellbrainandspine.org/condition/sacroiliac-joint-dysfunction
- https://www.nbcnews.com/better/lifestyle/sit-all-day-try-these-desk-stretches-loosen-your-hips-ncna1006566
- https://pubmed.ncbi.nlm.nih.gov/26674405/
- https://www.mayoclinic.org/diseases-conditions/sacroiliitis/symptoms-causes/syc-20350747
- https://www.youtube.com/watch?v=LEEOIXG3Co0
- https://pubmed.ncbi.nlm.nih.gov/20023362/
- https://www.nhs.uk/live-well/exercise/sitting-exercises/
- https://spinemd.com/conditions/sacroiliac-joint-dysfunction/
- https://www.upmcmyhealthmatters.com/10-minute-workout-can-right-desk/
- https://www.fairview.org/patient-education
- https://www.mayoclinic.org/healthy-lifestyle/adult-health/in-depth/office-ergonomics/art-20046169
- https://www.palomarhealth.org/rehabilitation-services/sacroiliac-joint
- https://pubmed.ncbi.nlm.nih.gov/29330230/
- https://utswmed.org/medblog/standing-desk-back-pain/
- https://sportsmedicine.mayoclinic.org/condition/sacroiliac-joint-pain/
Was this guide helpful?
35 people found this helpful
HowDadDo Around the World
Subscribe to the HowDadDo Newsletter
Get expert tips, weekly how-to guides, and dad wisdom delivered straight to your inbox. No spam, just good stuff.
Help us build the world's best
dad manual.
Every guide on HowDadDo is written and fact-checked by real people — no AI-generated fluff. Join our community of experts helping dads figure life out.