How to Handle Remove a Brick Fireplace Step by Step
When remove a brick fireplace leaves you confused, worried, or unsure what it means, a clear step-by-step approach can help you sort the signal from the stress. This guide explains how to understand the situation, reflect on what matters, choose a practical next step, and know when to ask for trusted support.
Protecting You and Your Home
Get a building permit if it’s required by your city.

- Many times, you’ll need a building permit when you do major renovations on your home.
- Reach out to your city’s zoning department and ask them if you need a building permit for your project.
- If they require one, fill out the application and give them information about the full scope of your project.
- If your building permit goes through, you can start your demolition.
- Many times, you’ll need a building permit when you do major renovations on your home.
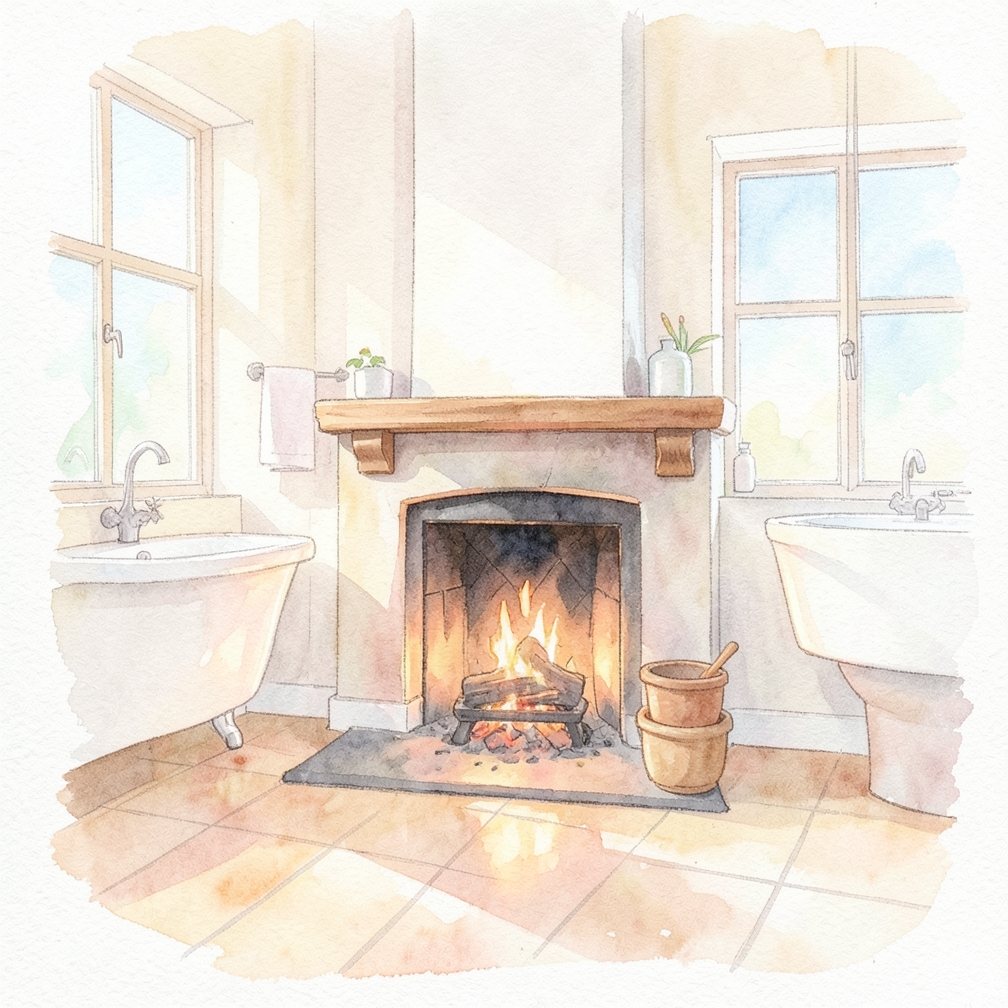
Call a home inspector to check if the brick extends up to the chimney.
- Some brick fireplaces extend all the way up to the chimney while others only have a brick firebox, which is the main area where you build the fire.
- Reach out to a home inspector and have them look at your home before you begin your demolition.
- If the inspector finds that the brick extends up through your home, then you need to start demolition on your roof with the chimney.
- If only the firebox is made of brick, then you can start demolition in the same room your fireplace is in.
- Some brick fireplaces extend all the way up to the chimney while others only have a brick firebox, which is the main area where you build the fire.
Protect the floor around the base of your fireplace with plywood.
- If the bricks fall onto your floor, they could leave dents, scratches, or other damage.
- Get a piece of plywood that’s 1 ⁄ 4 – 1 ⁄ 2 inch (0.64–1.27 cm) thick and extends about 3–4 feet (91–122 cm) out from your fireplace.
- Surround your entire fireplace with the plywood for the entirety of your work so you don’t need to worry about your flooring.
- If the bricks fall onto your floor, they could leave dents, scratches, or other damage.
- Get a piece of plywood that’s 1 ⁄ 4 – 1 ⁄ 2 inch (0.64–1.27 cm) thick and extends about 3–4 feet (91–122 cm) out from your fireplace.
Spread tarps over your floors to catch any dust or debris.

- Get enough tarps to cover the entire area of the room with your fireplace and lay them flat on the ground.
- Make sure the tarps don’t bunch up or have wrinkles in them since they could cause a trip hazard.
- Overlap each tarp by about 6 inches (15 cm) before taping them together with duct tape so dust can’t get underneath them.
- Agustin Renoj Home Improvement Specialist Expert Interview
- Get enough tarps to cover the entire area of the room with your fireplace and lay them flat on the ground.
Seal the area around the fireplace with floor to ceiling plastic sheeting.

- Measure the height of the room where you’re removing the fireplace so you know how long your sheeting needs to be.
- Use duct tape to secure the sheeting to your ceiling and stretch the sheets down to your floor.
- Tape the sheet along your floor so dust can’t get underneath it.
- Overlap other plastic sheets by 6 inches (15 cm) and tape them together to make a perfect seal.
- Measure the height of the room where you’re removing the fireplace so you know how long your sheeting needs to be.
Wear a respirator, safety glasses, and work gloves when you remove bricks.
- Cutting through bricks and mortar can create a lot of dust that can be harmful to breathe or cause eye irritation.
- Get safety glasses that completely cover your eyes and a respirator that goes over your nose and mouth to stay protected.
- Since the bricks may be sharp after you cut them, put on thick work gloves so you can handle the brick pieces without the risk of cutting yourself.
- Cutting through bricks and mortar can create a lot of dust that can be harmful to breathe or cause eye irritation.
- Get safety glasses that completely cover your eyes and a respirator that goes over your nose and mouth to stay protected.
Removing the Chimney
Rent a dumpster
- so you can easily get rid of the bricks.
- Look online for construction dumpster rentals in your area so you can easily throw away any scrap material from your fireplace and chimney.
- When the dumpster arrives, ask the company to drop it as close to your fireplace as you’re able, or else you’ll have to transport the debris further.
- As you tear down your chimney and fireplace, put any broken bricks or scraps in the dumpster so it can be taken off your property when you’re finished.
- so you can easily get rid of the bricks.
Climb onto your roof so you can access the chimney.
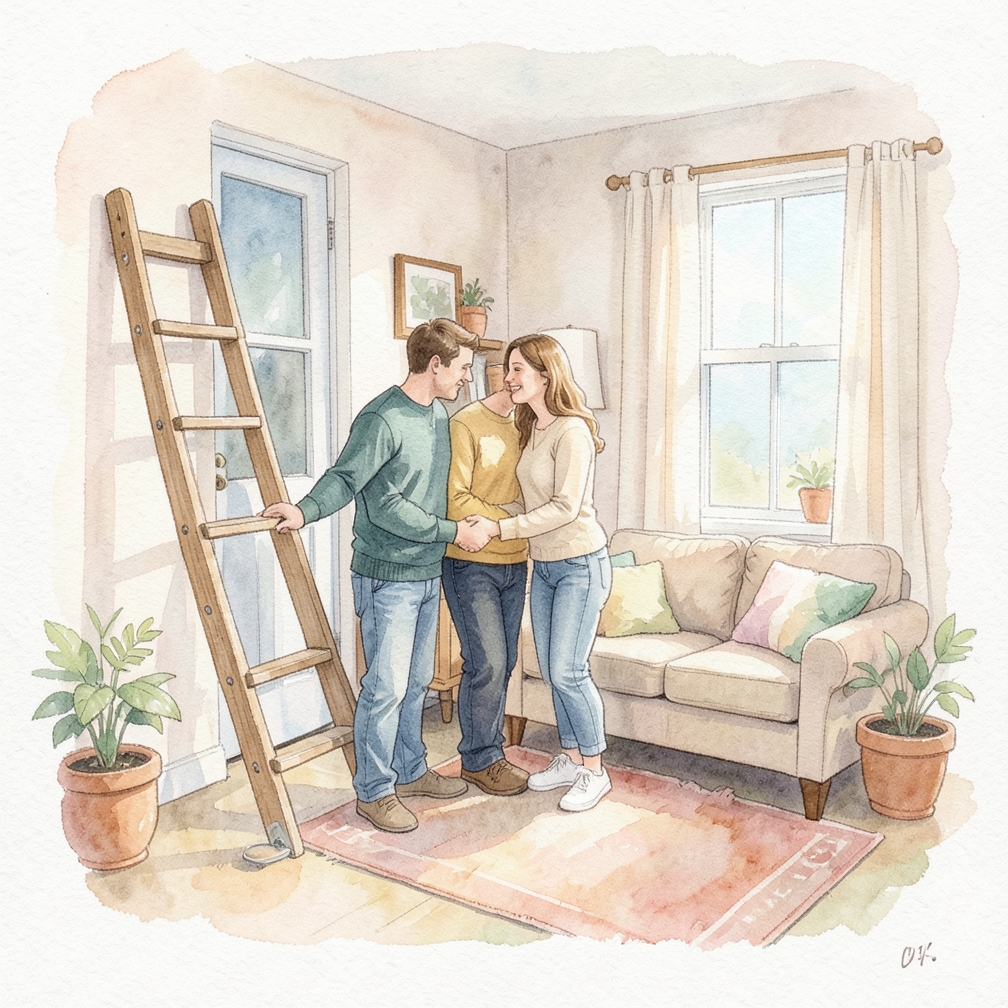
- Place a ladder against the side of your home closest to the chimney and carefully climb to your roof.
- Maintain 3 points of contact with the ladder as you climb so you’re less likely to slip and fall.
- When you get to the top of your ladder, slowly get onto your roof and approach your chimney so you can start working.
- Place a ladder against the side of your home closest to the chimney and carefully climb to your roof.
- Maintain 3 points of contact with the ladder as you climb so you’re less likely to slip and fall.
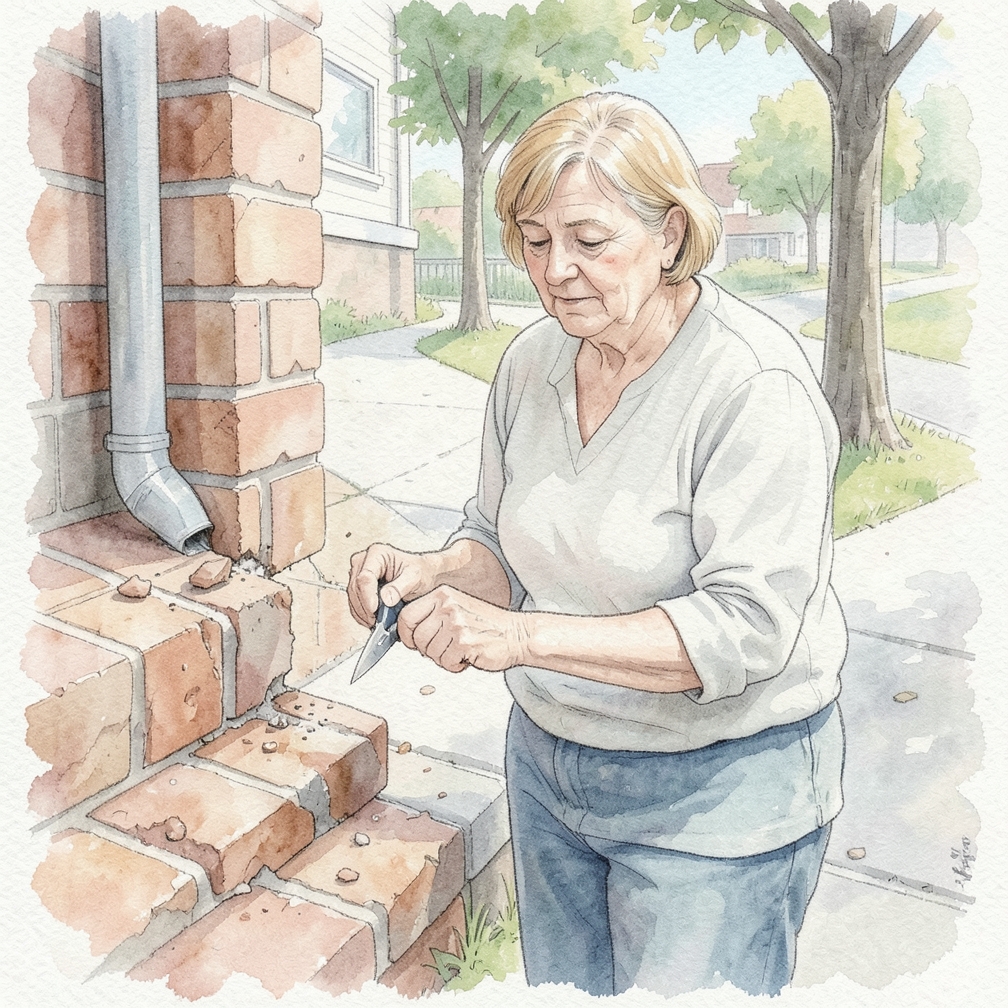
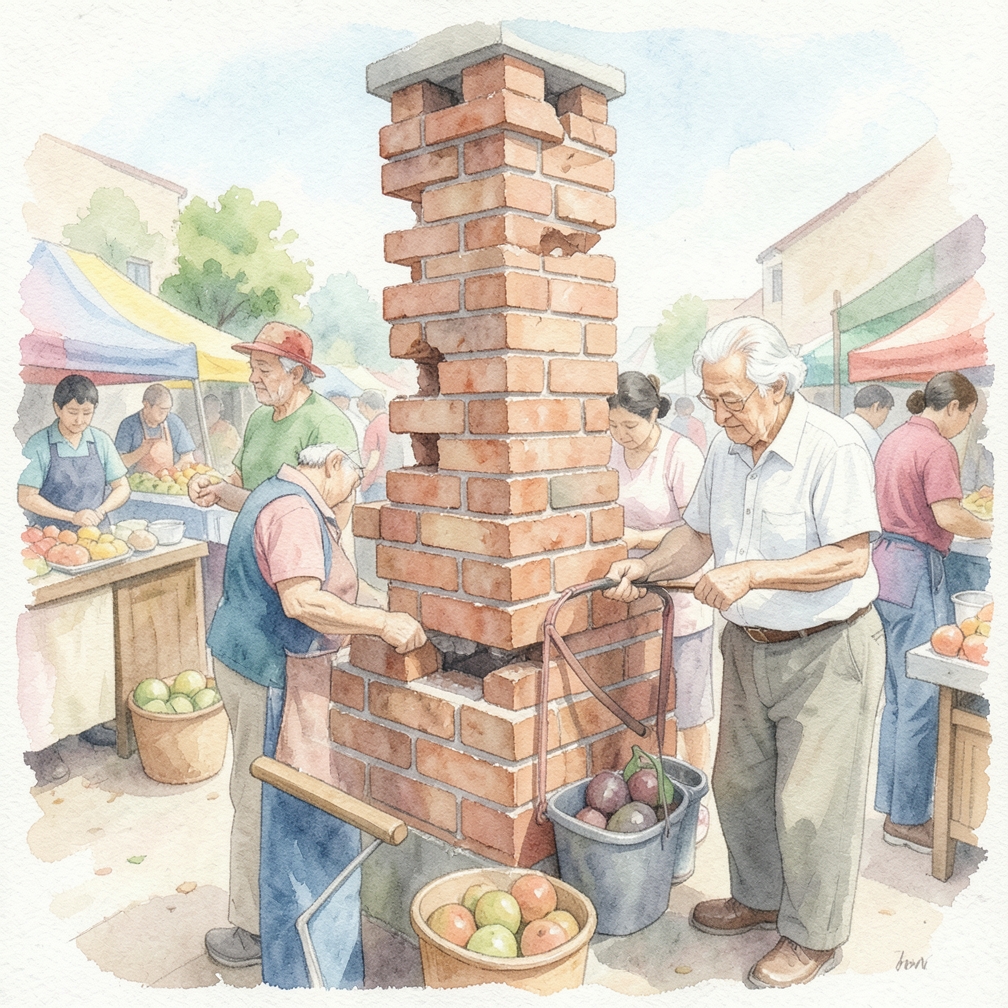
Chisel

- the mortar around the bricks to remove them individually.
- Start on the top layer of bricks and work your way down toward the base of your chimney.
- Place the blade of the chisel on the mortar between the bricks and tap the end of the handle with a hammer.
- Continue hitting the chisel until you remove as much mortar as you can.
- Once all of the mortar around the brick is loose, the brick will easily come off your chimney.
Break all of the bricks so the chimney is below the roofline.
- Continue removing the bricks layer by layer around your chimney, working your way closer to your roof.
- As you approach the roofline, take care not to damage any of the existing shingles or roofing material, or else you’ll need to replace them.
- Keep tearing your chimney down from the roof until you can’t easily reach them anymore.
- Continue removing the bricks layer by layer around your chimney, working your way closer to your roof.
- As you approach the roofline, take care not to damage any of the existing shingles or roofing material, or else you’ll need to replace them.
Cover the hole in your roof with outdoor-treated plywood.

- Get a piece of 1 ⁄ 4 – 1 ⁄ 2 in (0.64–1.27 cm) plywood that’s moisture proof and cut it down to the size of the hole in your roof.
- Place the piece of plywood over the hole to make sure it fits perfectly and lays flush with the rest of your roof.
- Nail or screw the plywood to the other boards on your roof to secure it in place.
- Get a piece of 1 ⁄ 4 – 1 ⁄ 2 in (0.64–1.27 cm) plywood that’s moisture proof and cut it down to the size of the hole in your roof.
- Place the piece of plywood over the hole to make sure it fits perfectly and lays flush with the rest of your roof.
Put roofing material over the patched area of your roof.

- Use shingles or tiles that are the same or match the rest of your roof to cover the patch.
- Put down a layer of waterproofing first, such as tar paper, before you put on your roofing material so your roof doesn’t leak later on.
- Use a hammer and nails to secure the shingles or tiles to the patch in your roof.
- Make sure the material lays flush with the rest of your roof so it doesn’t look out of place.
- Use shingles or tiles that are the same or match the rest of your roof to cover the patch.
Tearing out the Fireplace
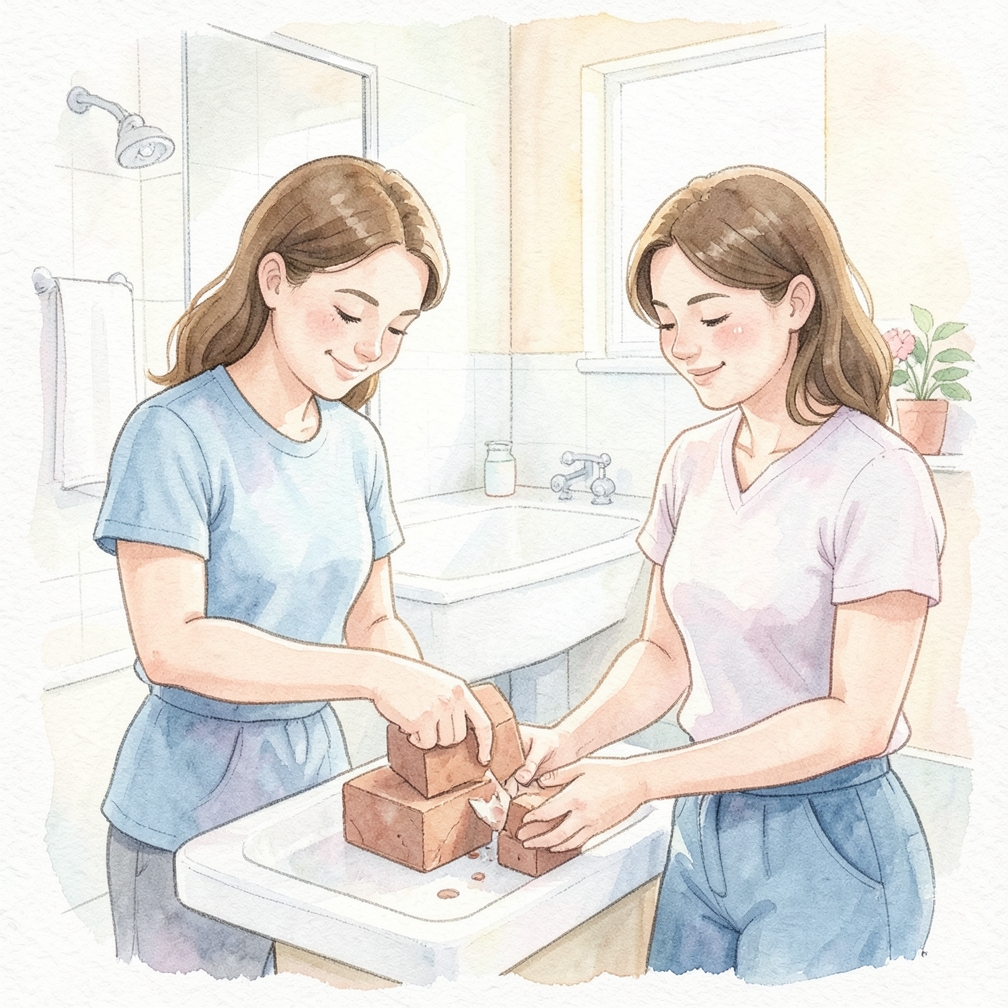
Chisel the bricks starting from their highest point inside your home.

- If you had to remove your chimney, then continue working down from your attic to the main room with your fireplace.
- If you didn’t have to remove the chimney, start at the highest exposed bricks in your firebox.
- Agustin Renoj Home Improvement Specialist Expert Interview Place the chisel against the mortar between the bricks and hit the handle with a hammer to break the pieces off.
- Stack or throw the bricks into a wheelbarrow as you remove them.
- If you had to remove your chimney, then continue working down from your attic to the main room with your fireplace.
Try a rotary hammer to cut through mortar faster and save the bricks.

- A rotary hammer has a chisel-like bit that moves up and down quickly so it can cut through masonry faster.
- Put in earplugs since rotary hammers can be very loud.
- Hold the rotary hammer with 2 hands and place the bit against the mortar between bricks.
- Turn the tool on and press into the mortar so it can chip the pieces away.
- A rotary hammer has a chisel-like bit that moves up and down quickly so it can cut through masonry faster.
Use a sledgehammer if you want to break bricks along the hearth.
- The hearth is the area of your floor that extends out from your fireplace to prevent fire from spreading.
- Hold the sledgehammer tightly with both hands and swing it over your head.
- Try to hit the same spot on your bricks multiple times to break them apart more easily.
- Continue moving along the hearth and breaking bricks until you can scoop out all of the pieces with a shovel.
- The hearth is the area of your floor that extends out from your fireplace to prevent fire from spreading.
Transfer bricks to the dumpster with a wheelbarrow.
- Put any bricks that you remove or break into a wheelbarrow so you transport them easily.
- Make sure the wheelbarrow doesn’t get too heavy for you to move without losing your balance.
- Guide the full wheelbarrow to the dumpster and pour out the bricks and debris.
- Put any bricks that you remove or break into a wheelbarrow so you transport them easily.
- Make sure the wheelbarrow doesn’t get too heavy for you to move without losing your balance.
Build a new wall

- if you want one in the fireplace’s old location.
- If your fireplace and chimney were on an exterior wall, then your room will now have a big hole in the wall.
- Measure the size of the hole with a tape measure and put in vertical 2 in × 4 in (5.1 cm × 10.2 cm) studs so they’re evenly spaced.
- Cover any exterior facing walls with outdoor-treated plywood and waterproofing before putting on new siding.
- Attach drywall to the inside of the wall frame so you can finish it how you like.
Community Q&A
Be the first to ask a question about this guide.
References
- https://dcra.dc.gov/service/get-building-permit
- https://www.homebuilding.co.uk/how-to-remove-a-chimney-breast/
- https://www.finehomebuilding.com/membership/pdf/16389/021161092.pdf
- https://www.designingbuildings.co.uk/wiki/How_to_keep_dust_under_control_during_a_home_renovation
- https://www.homes.com/blog/safety-tips-for-renovations/
- https://www.frugalhappy.org/blog/2017/4/7/breaking-up-a-chimney-is-hard-to-do
- https://youtu.be/SvsrrcN78uo?t=21
- https://youtu.be/riNJToTz9M8?t=158
- https://thehtrc.com/2017/diy-roof-patch
- https://www.houseofhepworths.com/2018/04/30/knocking-down-a-huge-brick-fireplace-wall/
- https://www.blockrenovation.com/guides/maintenance/how-to-clean-up-dust-after-construction/
Was this guide helpful?
29 people found this helpful
HowDadDo Around the World
Subscribe to the HowDadDo Newsletter
Get expert tips, weekly how-to guides, and dad wisdom delivered straight to your inbox. No spam, just good stuff.
Help us build the world's best
dad manual.
Every guide on HowDadDo is written and fact-checked by real people — no AI-generated fluff. Join our community of experts helping dads figure life out.