How to Handle Make Clothes for Your Doll Step by Step
When make clothes for your doll leaves you confused, worried, or unsure what it means, a clear step-by-step approach can help you sort the signal from the stress. This guide explains how to understand the situation, reflect on what matters, choose a practical next step, and know when to ask for trusted support.
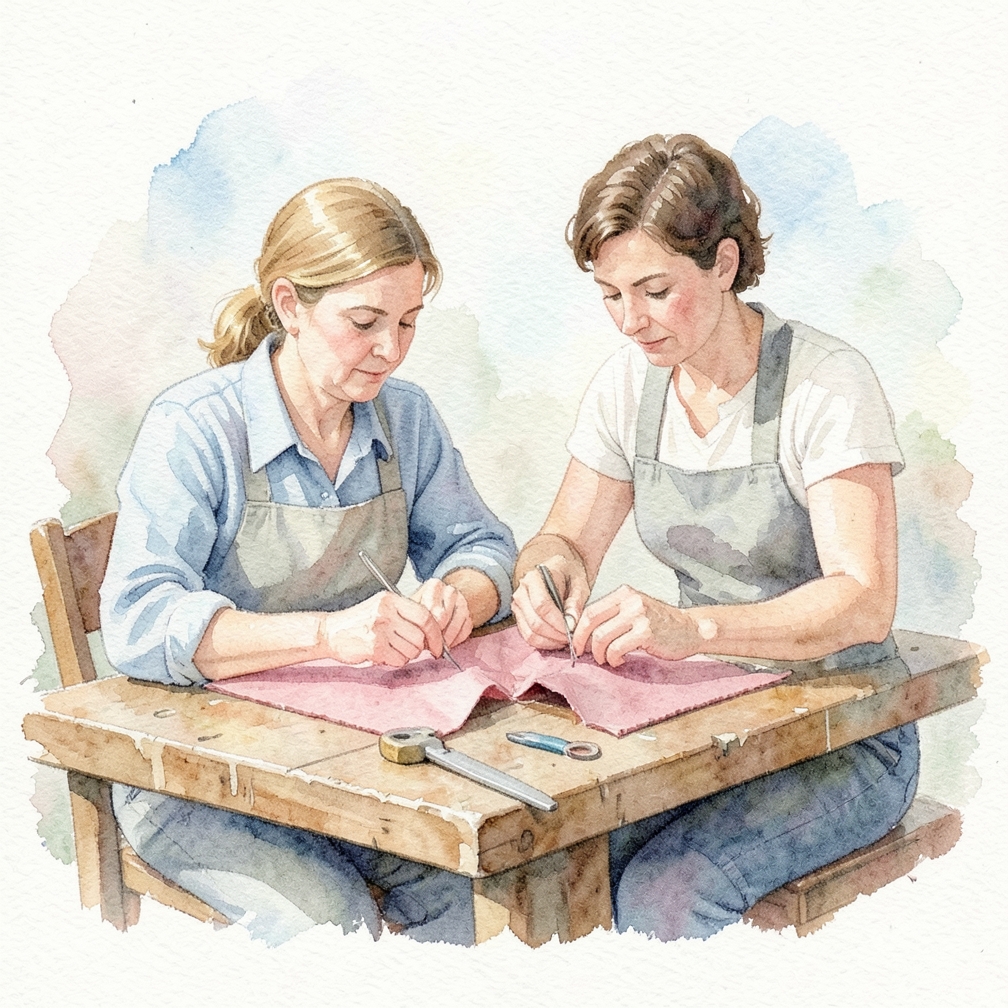
Cut Out the Pant Pattern
- Consider using a simple straight-leg pattern for a classic look.
- Add any embellishments, such as buttons or rivets, at this stage.
- Make sure the pants are large enough to fit your doll comfortably.
- Use scissors or a craft knife to cut out two identical pant patterns from your fabric scraps.
- Make sure they are symmetrical and even.
Sew the Pant Pieces Together
- Use a simple running stitch or a decorative stitch, depending on your preference.
- Press the seams as you go to ensure a crisp finish.
- Make sure to leave enough room for turning the garment right side out.
- Using a sewing machine or needle and thread, sew the two pant pieces together at the sides and bottom, leaving a small opening for turning the garment right side out.
- Using a sewing machine or needle and thread, sew the two pant pieces together at the sides and bottom, leaving a small opening for turning the garment right side out.
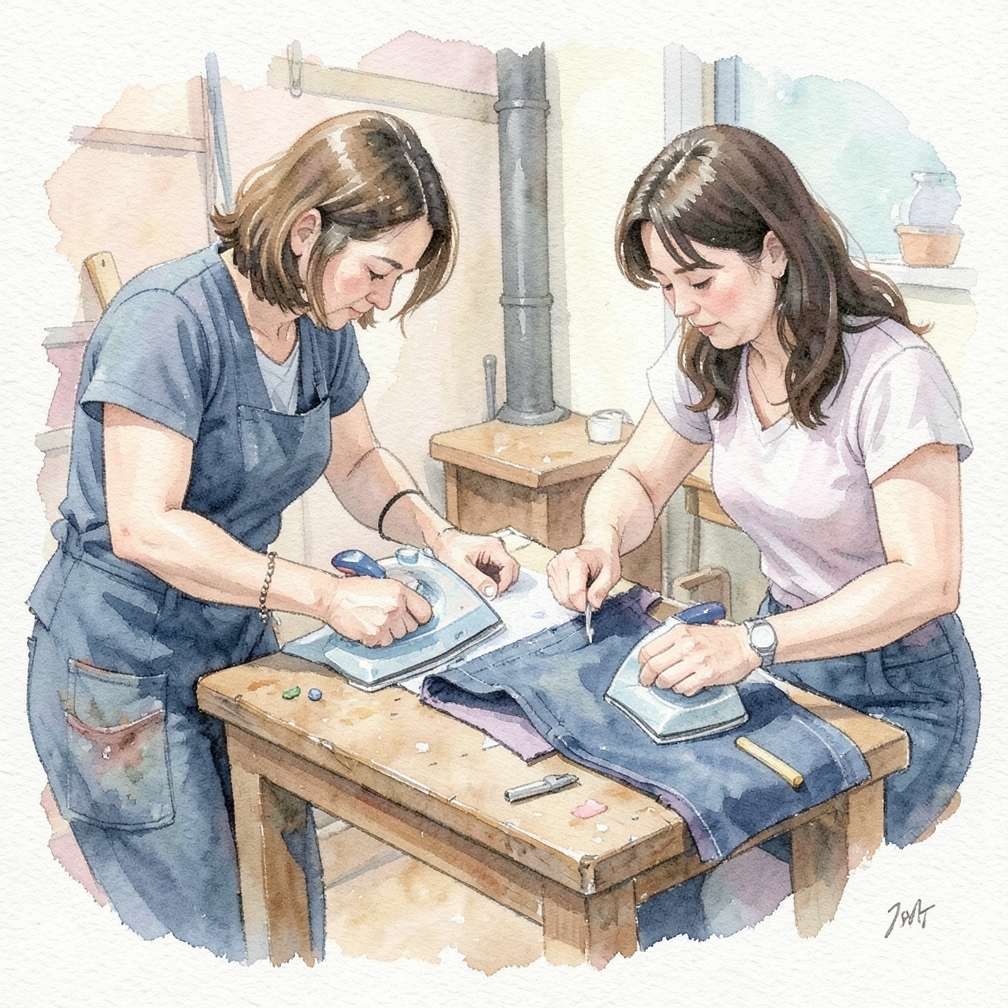
Turn and Press the Pants
- Use a low heat setting to avoid scorching the fabric.
- Press the seams as you go to ensure a professional finish.
- Avoid over-pressing, which can cause wrinkles and creases.
- Carefully turn the pants right side out through the small opening, then press the seams with an iron to create a crisp fold.
- Carefully turn the pants right side out through the small opening, then press the seams with an iron to create a crisp fold.
Add Closure and Hem the Bottom
- Use a blind hem stitch to create an invisible hem.
- Add any embellishments, such as buttons or rivets, at this stage.
- Make sure the closure is secure and won't come undone easily.
- Sew a small opening for closure, such as a button or snap, and hem the bottom of the pants using a sewing machine or needle and thread.
- Sew a small opening for closure, such as a button or snap, and hem the bottom of the pants using a sewing machine or needle and thread.
Community Q&A
Be the first to ask a question about this guide.
References
Was this guide helpful?
28 people found this helpful
HowDadDo Around the World
Subscribe to the HowDadDo Newsletter
Get expert tips, weekly how-to guides, and dad wisdom delivered straight to your inbox. No spam, just good stuff.
Help us build the world's best
dad manual.
Every guide on HowDadDo is written and fact-checked by real people — no AI-generated fluff. Join our community of experts helping dads figure life out.