How to Handle Make a Palm Cross Step by Step
When make a palm cross leaves you confused, worried, or unsure what it means, a clear step-by-step approach can help you sort the signal from the stress. This guide explains how to understand the situation, reflect on what matters, choose a practical next step, and know when to ask for trusted support.
Understand the Symbolism of the Palm Cross

- Learn about the history and significance of palm crosses in liturgical traditions.
- Understand the role of palm crosses as reminders of the Passion during Lent.
- Research different regional variations of palm weaving from Latin America and Europe.
- Reflect on the spiritual meaning of the palm while preparing your materials.
- Avoid using materials that are not traditionally associated with the holiday if seeking authenticity.
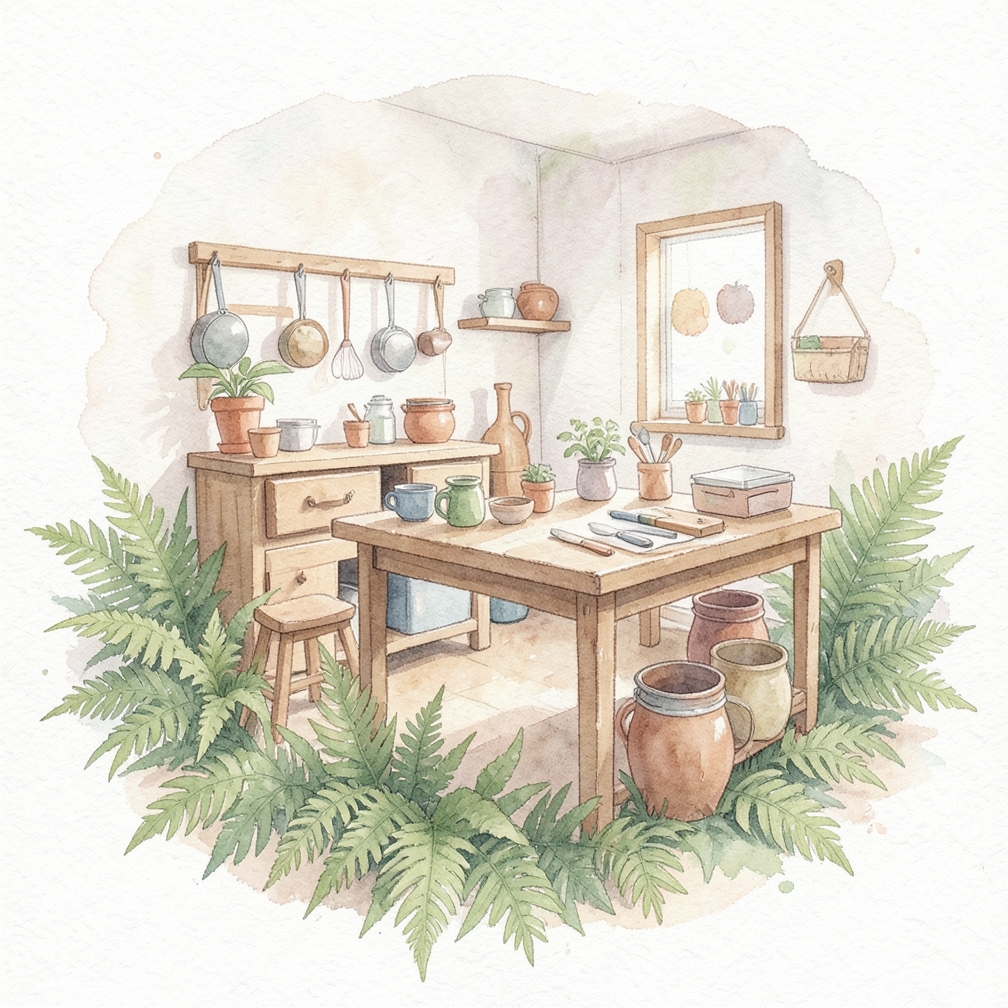
Gather Materials for Making a Palm Cross

- Choose young, green palm fronds as they are more pliable than dried ones.
- Select a sturdy base material if you are creating a reinforced decorative cross.
- Gather small scissors to trim the ends of the fronds for a clean finish.
- Prepare a spray bottle of water to keep the fronds moist during the weaving process.
- Be careful not to use fronds with sharp thorns or jagged edges to avoid injury.
Create the Base of the Palm Cross
- Use a ruler or template to ensure the cross arms are symmetrical.
- Apply light pressure when folding to avoid creasing the leaf too sharply.
- Secure the intersection tightly to prevent the cross from unraveling.
- Ensure the vertical stem is longer than the horizontal crossbar.
- Do not over-tighten the initial fold or you may snap the central vein of the leaf.
Add Palm Fronds and Details
- Arrange palm fronds in a symmetrical over-under weaving pattern.
- Secure the ends of the fronds by tucking them back into the weave.
- Add small decorative elements like ribbons or berries for a festive look.
- Maintain consistent tension throughout the weaving process for a professional look.
- Avoid using excessive glue, as it can leave unsightly residue on the natural leaf.
Finishing Touches
- Inspect the cross for any loose ends or uneven weaving.
- Apply a light coat of clear varnish to seal the moisture and prevent browning.
- Allow the varnish to dry completely in a well-ventilated area before storage.
- Trim any excess leaf material from the bottom of the cross for a clean edge.
- Store the finished cross in a cool, dry place to maintain its color.
Community Q&A
Be the first to ask a question about this guide.
Was this guide helpful?
47 people found this helpful
HowDadDo Around the World
Subscribe to the HowDadDo Newsletter
Get expert tips, weekly how-to guides, and dad wisdom delivered straight to your inbox. No spam, just good stuff.
Help us build the world's best
dad manual.
Every guide on HowDadDo is written and fact-checked by real people — no AI-generated fluff. Join our community of experts helping dads figure life out.