How to Handle Make a Cheap Recording Studio Step by Step
When make a cheap recording studio leaves you confused, worried, or unsure what it means, a clear step-by-step approach can help you sort the signal from the stress. This guide explains how to understand the situation, reflect on what matters, choose a practical next step, and know when to ask for trusted support.
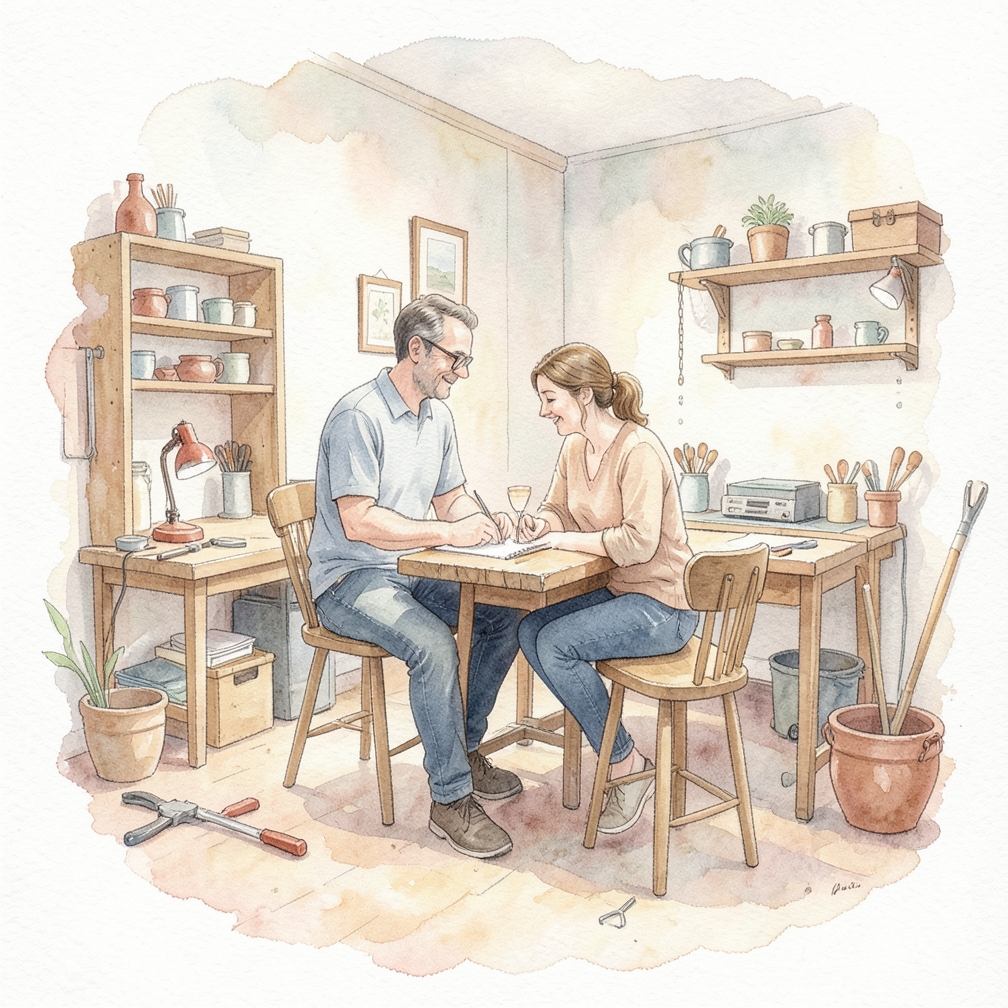
Preparing the Room
Choose a room in your home that’s comfortable and heated/cooled.

- Select a room or a part of a room in your home for your recording studio location.
- Opt for a room that you will feel comfortable in for long periods of time.
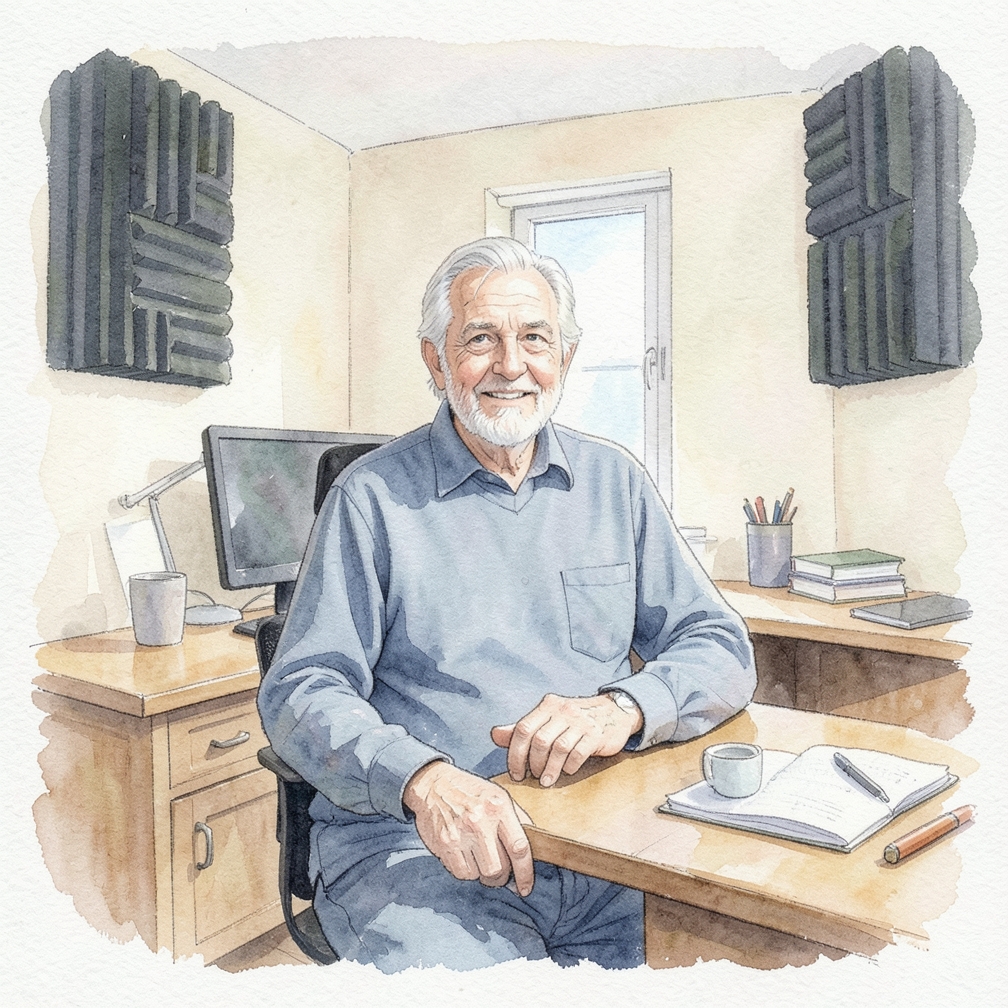
- Pete Canalichio Brand Strategist & Licensing Expert Expert Interview Also, select a room where you can control the temperature all year round.
- For example, unless your garage or basement are temperature-controlled, they likely won’t make good studio locations.
- Select a room or a part of a room in your home for your recording studio location.
Decorate the room with cloth-covered furniture to absorb sound.
- Add whatever furniture you need or want to your recording study, if it’s large enough.
- At the very least, you’ll need a desk or table for your equipment.
- If you’re able to fit more furniture, select furniture that’s covered in fabric, as it will absorb the sound rather than distort it.
- Add whatever furniture you need or want to your recording study, if it’s large enough.
- At the very least, you’ll need a desk or table for your equipment.
Reduce sound reflection with an area rug for a hard-surfaced floor.
- Place one or more area rug onto the floor of your studio if you have floors with a hard surface, such as tiles or hardwood.
- Ensure one of those area rugs is directly under your desk and chair.
- If your room already has wall-to-wall carpet, you can skip this step.
- Place one or more area rug onto the floor of your studio if you have floors with a hard surface, such as tiles or hardwood.
- Ensure one of those area rugs is directly under your desk and chair.
Purchase acoustic treatment material to reduce sound reflection.
- Purchase a broadband absorption kit, four bass traps, and two isolation pads from a music store or online.
- The broadband absorption kit should come with approximately 30 panels that can be placed around your room, once the equipment is set up.
- Absorption panels, bass traps, and diffusion panels are all designed to prevent the sound from your studio monitors from being distorted due to the flat walls.
- Purchase a broadband absorption kit, four bass traps, and two isolation pads from a music store or online.
- The broadband absorption kit should come with approximately 30 panels that can be placed around your room, once the equipment is set up.
Getting the Gear
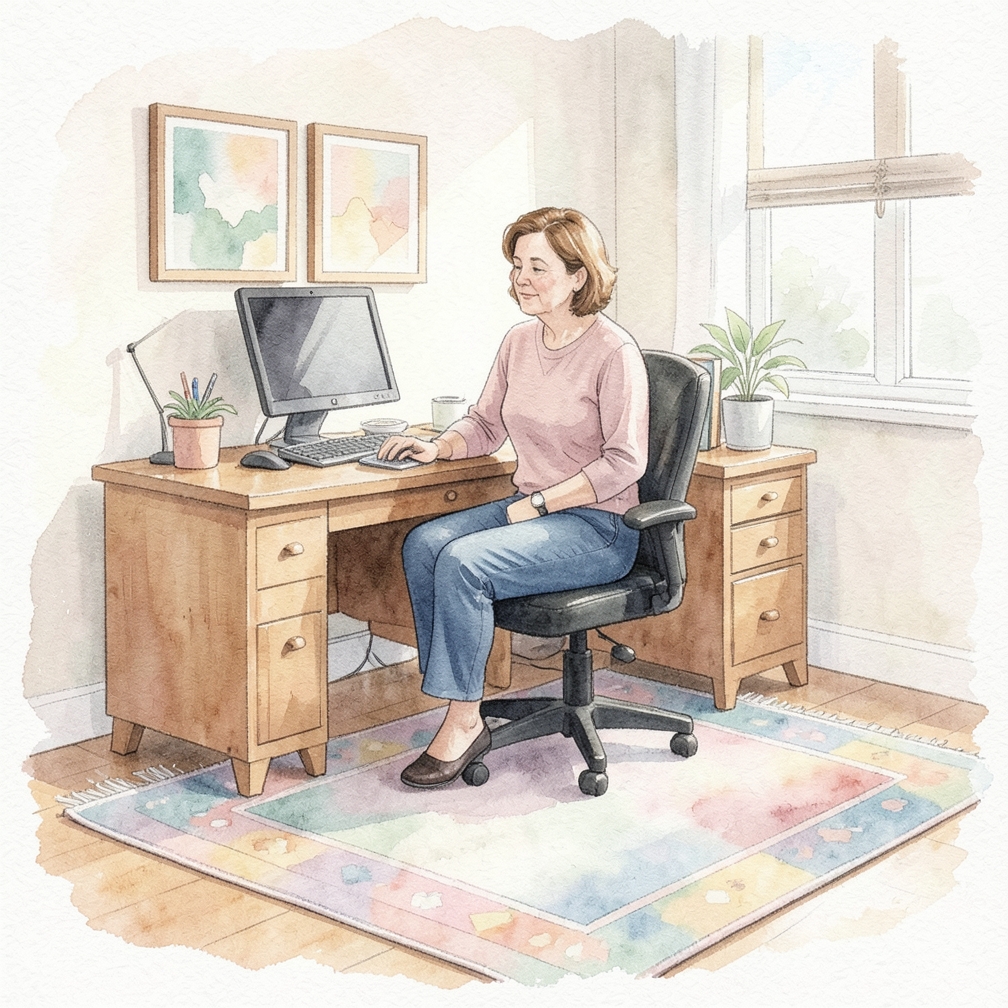
Obtain a powerful computer to mix your music and sound.

- Consider this step complete if you already have a computer that’s less than a few years old.
- Purchase a new (or refurbished) computer if you don’t have a newer computer or if you have the budget to purchase a desktop computer specifically for your recording studio.
- Get a laptop computer if you need it for other activities; get a desktop if you don’t need a computer elsewhere.
- Pete Canalichio Brand Strategist & Licensing Expert Expert Interview
- Consider this step complete if you already have a computer that’s less than a few years old.
Download free trials of sound recording software to test out.

- There are a huge number of sound recording software programs on the market.
- Each program has its pros and cons and each program has its fans and critics.
- To find the software that works for you, download trial copies of a couple different options.
- Try each option out and determine which one satisfies all your needs.
- There are a huge number of sound recording software programs on the market.
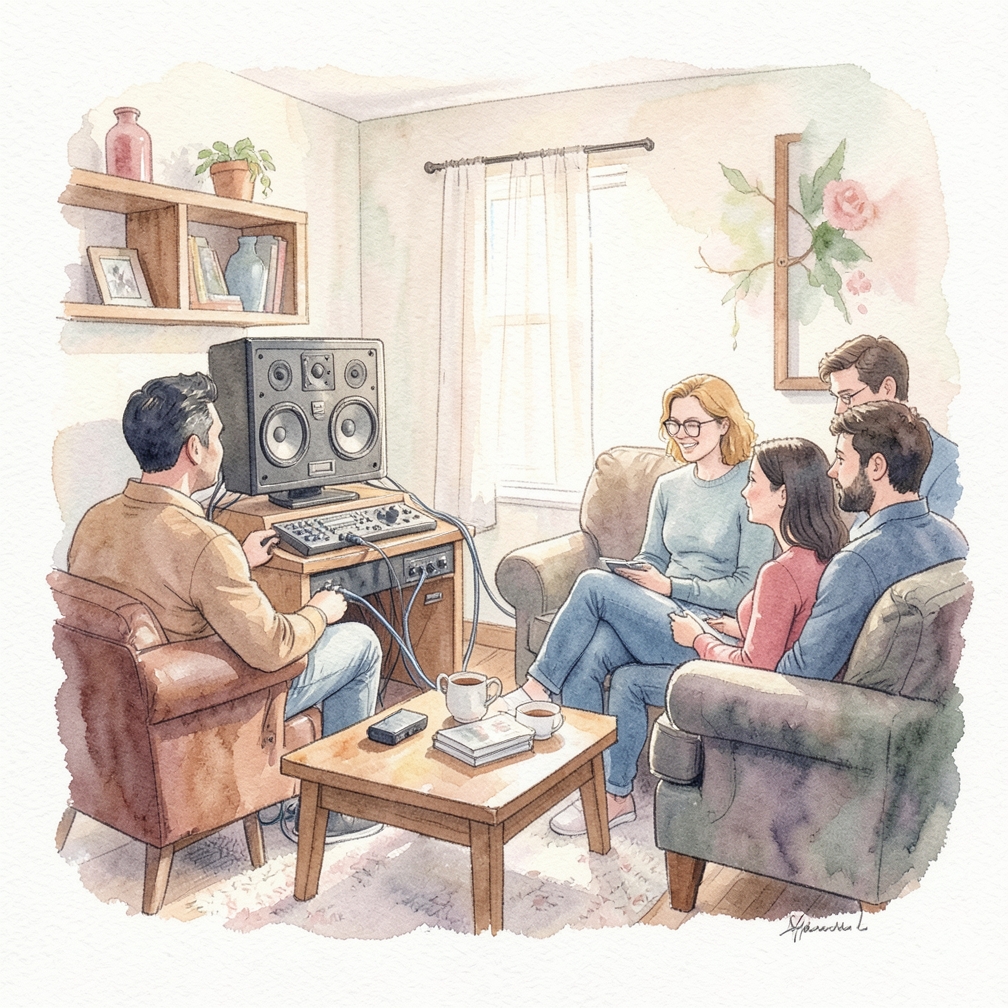
Obtain a pair of studio monitors on which to listen to the playback.

- Two of the most important items in your studio will be your monitors (i.e., speakers).
- Select the best pair of studio monitors you can afford on your budget.
- However, keep in mind you can always purchase additional monitors later if needed.
- Two of the most important items in your studio will be your monitors (i.e., speakers).
- Select the best pair of studio monitors you can afford on your budget.
Invest in a studio microphone to ensure the best sound.

- Purchase a new studio microphone to include in your recording studio.
- If you know for certain that you’ll be recording more than one voice and/or acoustic instrument at the same time, purchase more than one microphone.
- Do not forget to also purchase a stand for each microphone; most microphones won’t include a stand.
- Purchase a new studio microphone to include in your recording studio.
- If you know for certain that you’ll be recording more than one voice and/or acoustic instrument at the same time, purchase more than one microphone.
Get an audio interface to link all your equipment together.

- Purchase an audio interface that is compatible with your computer.
- Get an interface that allows for at least 3 inputs (microphone, headphones, and studio monitors).
- Ensure there is an input port for each microphone you have in your studio, or you’ll only be able to record one at a time.
- Purchase an audio interface that is compatible with your computer.
- Get an interface that allows for at least 3 inputs (microphone, headphones, and studio monitors).
Ensure you have all the necessary cables to connect everything.
- Not all the equipment you purchase will include the requisite cables.
- Bring all your equipment into your recording studio room and lay it out in your configuration of choice.
- Lay the cables you have on the floor, between the various pieces of equipment to determine which ones you already have and which ones you’ll need to buy.
- Purchase all the cables you need.
- Not all the equipment you purchase will include the requisite cables.
Perfecting Sound Dynamics
Install mass-loaded vinyl to soundproof the room.

- Purchase mass-loaded vinyl soundproofing material, which typically comes in rolls that are 4 feet (1.2 m) long, from a music store or online.
- Install the vinyl on your walls, ceiling, and floor of the room you’re making your recording studio.
- Attach the vinyl to the walls using nails or staples, with the help of at least 1 friend.
- Purchase mass-loaded vinyl soundproofing material, which typically comes in rolls that are 4 feet (1.2 m) long, from a music store or online.
- Install the vinyl on your walls, ceiling, and floor of the room you’re making your recording studio.
Install the bass traps in the 4 corners of your room.
- Attach one bass trap in each corner of your room, at the ceiling.
- Use spray adhesive to attach the bass trap directly to the wall.
- If the bass trap has mounting brackets instead, follow the instructions that came with the trap to install them.
- Attach one bass trap in each corner of your room, at the ceiling.
- Use spray adhesive to attach the bass trap directly to the wall.
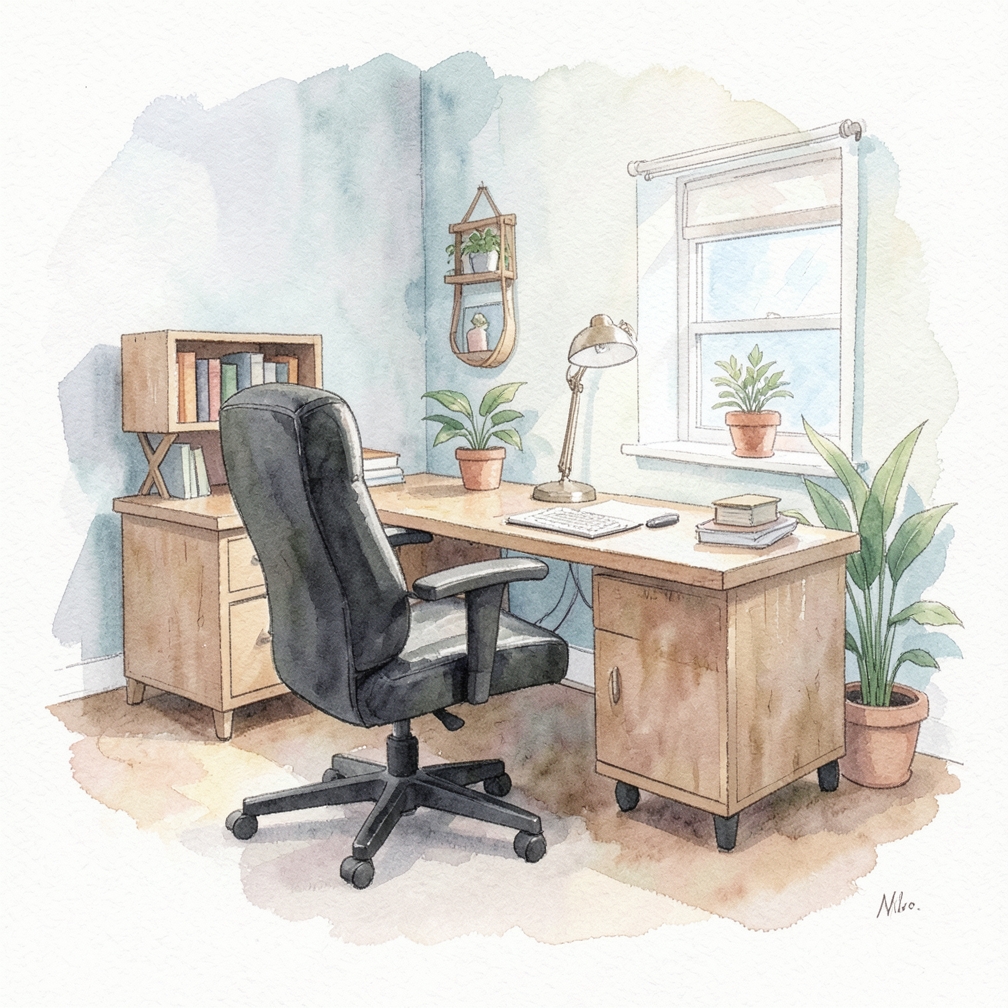
Set up a table or desk on which to organize your equipment.

- Bring at least one table or desk into your recording studio room and set it up.
- Place all your equipment (computer and accessories, studio monitors, audio interface) on the table or desk, in the configuration you want.
- Attach all the cables for these items.
- Bring at least one table or desk into your recording studio room and set it up.
- Place all your equipment (computer and accessories, studio monitors, audio interface) on the table or desk, in the configuration you want.
Set up your studio monitors at ear level to hear your mix properly.

- Sit down in your chair and check that your studio monitors are at the same level as your head.
- Raise the studio monitors up on stands if they’re too low.
- Make sure your two studio monitors and your head form an equilateral triangle (e.g., that all 3 items are the same distance apart from each other).
- Sit down in your chair and check that your studio monitors are at the same level as your head.
- Raise the studio monitors up on stands if they’re too low.
Place acoustic isolation pads under your monitors to reduce amplification.

- Put the 2 isolation pads you purchased under each studio monitor.
- If the pad raised the monitor too high, you’ll either need to lower the monitor (e.g., take it off a shelf or stand) or raise you head to match the height of the monitors.
- Put the 2 isolation pads you purchased under each studio monitor.
- If the pad raised the monitor too high, you’ll either need to lower the monitor (e.g., take it off a shelf or stand) or raise you head to match the height of the monitors.
- Put the 2 isolation pads you purchased under each studio monitor.
Install your microphone on its stand and place it near your desk.

- Assemble your microphone stand, if it requires assembly.
- Attach your microphone to the stand and install the pop filter.
- Setup the stand so the microphone can be placed directly in front of your mouth while you’re sitting at your desk.
- This way you can work on your computer while performing voice work.
- Assemble your microphone stand, if it requires assembly.
Attach all your equipment together with the requisite cables.
- Attach your optical (or lightpipe) cables from your studio monitors to your audio interface.
- Attach your microphone cable and your headphone cable to the audio interface.
- Use a USB or PCMCIA cable to attach your computer to the audio interface.
- Set up your keyboard and mouse.
- If required, use a VGA or Thunderbolt cable to attach one or more video monitors to your computer.
Use the mirror trick to find the best locations for your absorption panels.

- Sit in the location where you’ll be when doing your recording work.
- Have someone stand with a mirror against the wall, on the right side of your right monitor, at the same height as your head.
- Have that person slowly move it along the wall, around the walls of the entire room, until it’s on the left side of the left monitor.
- Look into the mirror from your chair and swivel as you watch the mirror go around the perimeter of the room.
- At every point where you can see at least one of the monitors in the mirror, have your helper make a mark on the wall.
Hang the absorption panels in the predetermined locations.

- Go around your room and attach an absorption panel to the wall in each location you marked while doing the mirror trick.
- Use spray adhesive to attach the panel to the wall.
- Only hang panels at ear height on the side walls of the room.
- Go around your room and attach an absorption panel to the wall in each location you marked while doing the mirror trick.
- Use spray adhesive to attach the panel to the wall.
Install absorption panels in front of, behind, and above your monitors.

- Use spray adhesive to attach more absorption panels to the walls behind your studio monitors and behind your chair (even if the wall behind your chair is quite far away).
- Hang the panels on these walls above and below ear level, in addition to at ear level.
- Use the same spray adhesive to attach several absorption panels to the ceiling, directly above your chair.
- Use spray adhesive to attach more absorption panels to the walls behind your studio monitors and behind your chair (even if the wall behind your chair is quite far away).
- Hang the panels on these walls above and below ear level, in addition to at ear level.
Community Q&A
Be the first to ask a question about this guide.
References
- https://youtu.be/ZitBGg9zGfg?t=290
- https://youtu.be/Oa5vfEIXyok?t=55
- https://www.tunecore.com/blog/2017/02/set-home-recording-studio-complete-guide.html
- https://flypaper.soundfly.com/produce/3-awesome-diy-soundproofing-hacks-home-studio/
- https://youtu.be/dCtSbLjsFcU?t=35
- https://www.audio-issues.com/building-a-home-recording-studio/
- https://youtu.be/Pubkob52o78?t=105
- https://youtu.be/ZitBGg9zGfg?t=137
- https://ehomerecordingstudio.com/home-recording-studio-essentials/
Was this guide helpful?
27 people found this helpful
HowDadDo Around the World
Subscribe to the HowDadDo Newsletter
Get expert tips, weekly how-to guides, and dad wisdom delivered straight to your inbox. No spam, just good stuff.
Help us build the world's best
dad manual.
Every guide on HowDadDo is written and fact-checked by real people — no AI-generated fluff. Join our community of experts helping dads figure life out.