How to Handle Fix a Peeling Clear Coat on a Car Step by Step
When fix a peeling clear coat on a car leaves you confused, worried, or unsure what it means, a clear step-by-step approach can help you sort the signal from the stress. This guide explains how to understand the situation, reflect on what matters, choose a practical next step, and know when to ask for trusted support.
Replacing Only the Peeling Clear Coat
Scrub the damaged area with 1000 grit sandpaper.
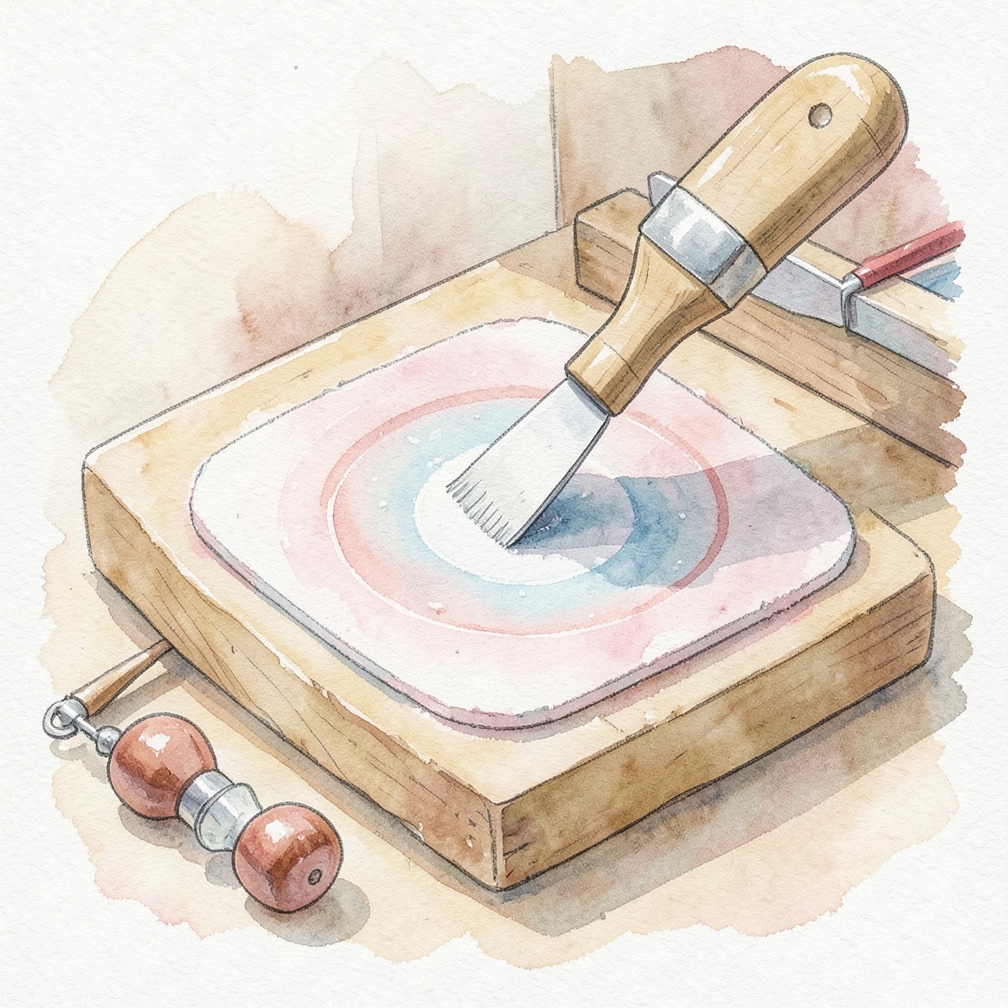
- Use a fine-grit sandpaper to avoid scratching the surrounding paint.
- Wear protective gear like gloves and safety glasses to prevent injury.
- Sand in a circular motion, applying moderate pressure.
- Rub the sandpaper in circles, pressing firmly.
- Sand a little beyond the original damage, even if it means peeling away a small amount of clear coat that is still in decent condition.
Wet sand the transition between your work area and the remaining clear coat.
- Wet sanding helps to create a smooth surface for painting.
- Use a clean, lint-free cloth to wipe away any dust or debris.
- Work slowly and carefully to avoid creating scratches or swirl marks.
- Use 2000 grit sandpaper that’s been soaking in water for an hour.
- Smooth out the transition lines between your repair area and the surrounding clear coat.
Clean the clear coat-free area with alcohol and solvent-based cleaners.
- Use a degreaser specifically designed for automotive use.
- Avoid using household cleaners, which can damage the paint surface.
- Wipe away any remaining dirt or debris with a clean cloth.
- Use a degreaser specifically designed for automotive use.
- Avoid using household cleaners, which can damage the paint surface.
Scuff the cleaned area with a fine grit, woven scuffing pad.
- Use a scuffing pad to create a slightly rough texture for painting.
- Avoid using steel wool or sandpaper, which can scratch the surrounding paint.
- Work in small sections and use moderate pressure to avoid creating scratches.
- Use a scuffing pad to create a slightly rough texture for painting.
- Avoid using steel wool or sandpaper, which can scratch the surrounding paint.
Replacing the Color Coat and the Clear Coat
Find your car’s factory paint color code.
- Search for a tag on the driver’s side door or in the owner’s manual.
- Check online resources or consult with an auto body shop if necessary.
- Search for a tag on the driver’s side door or in the owner’s manual.
- Check online resources or consult with an auto body shop if necessary.
- Search for a tag on the driver’s side door or in the owner’s manual.
Invest in an all-in-one touch-up kit.

- Choose a kit that is custom colored to match your vehicle’s factory paint job.
- Use the provided pigment and clear sprays to avoid damaging the surrounding paint.
- Choose a kit that is custom colored to match your vehicle’s factory paint job.
- Use the provided pigment and clear sprays to avoid damaging the surrounding paint.
- Choose a kit that is custom colored to match your vehicle’s factory paint job.
Sand the peeled area down to the bare metal or base material.
- Use a heavier grit sandpaper (e.g., 200 grit) that comes with your kit.
- Wipe away flakes and dust with a tack cloth, then clean the area with the provided cleaner(s).
- Use a heavier grit sandpaper (e.g., 200 grit) that comes with your kit.
- Wipe away flakes and dust with a tack cloth, then clean the area with the provided cleaner(s).
- Use a heavier grit sandpaper (e.g., 200 grit) that comes with your kit.
Apply approximately 3 coats of automotive primer.
- Follow the manufacturer’s instructions for application and drying times.
- Use a paint gun or applicator to apply the mixed clear coat to the damaged area.
- Follow the manufacturer’s instructions for application and drying times.
- Use a paint gun or applicator to apply the mixed clear coat to the damaged area.
- Follow the manufacturer’s instructions for application and drying times.
Being Safe and Realistic
Set up a fresh air ventilation system for your work area.

- Use a fan or open windows to improve airflow.
- Avoid working in enclosed spaces, which can lead to respiratory problems.
- Use a fan or open windows to improve airflow.
- Avoid working in enclosed spaces, which can lead to respiratory problems.
- Use a fan or open windows to improve airflow.
Wear breathing protection at all times.

- Invest in an activated charcoal facemask for better protection.
- Never use a thin surgical mask, which can be ineffective against dust and chemicals.
- Invest in an activated charcoal facemask for better protection.
- Never use a thin surgical mask, which can be ineffective against dust and chemicals.
- Invest in an activated charcoal facemask for better protection.
Follow the instructions provided with your chosen repair product.

- Read the manual carefully before starting the project.
- Follow the recommended application and drying times to avoid damage or defects.
- Read the manual carefully before starting the project.
- Follow the recommended application and drying times to avoid damage or defects.
- Read the manual carefully before starting the project.
Have your car professionally repainted for the best results.
- A professional paint job will ensure a flawless finish and long-lasting results.
- Consider hiring an auto body shop if you’re not experienced with DIY repairs.
- A professional paint job will ensure a flawless finish and long-lasting results.
- Consider hiring an auto body shop if you’re not experienced with DIY repairs.
- A professional paint job will ensure a flawless finish and long-lasting results.
Community Q&A
Be the first to ask a question about this guide.
References
Was this guide helpful?
26 people found this helpful
HowDadDo Around the World
Subscribe to the HowDadDo Newsletter
Get expert tips, weekly how-to guides, and dad wisdom delivered straight to your inbox. No spam, just good stuff.
Help us build the world's best
dad manual.
Every guide on HowDadDo is written and fact-checked by real people — no AI-generated fluff. Join our community of experts helping dads figure life out.