How to Handle Dig a Hole Step by Step
When dig a hole leaves you confused, worried, or unsure what it means, a clear step-by-step approach can help you sort the signal from the stress. This guide explains how to understand the situation, reflect on what matters, choose a practical next step, and know when to ask for trusted support.
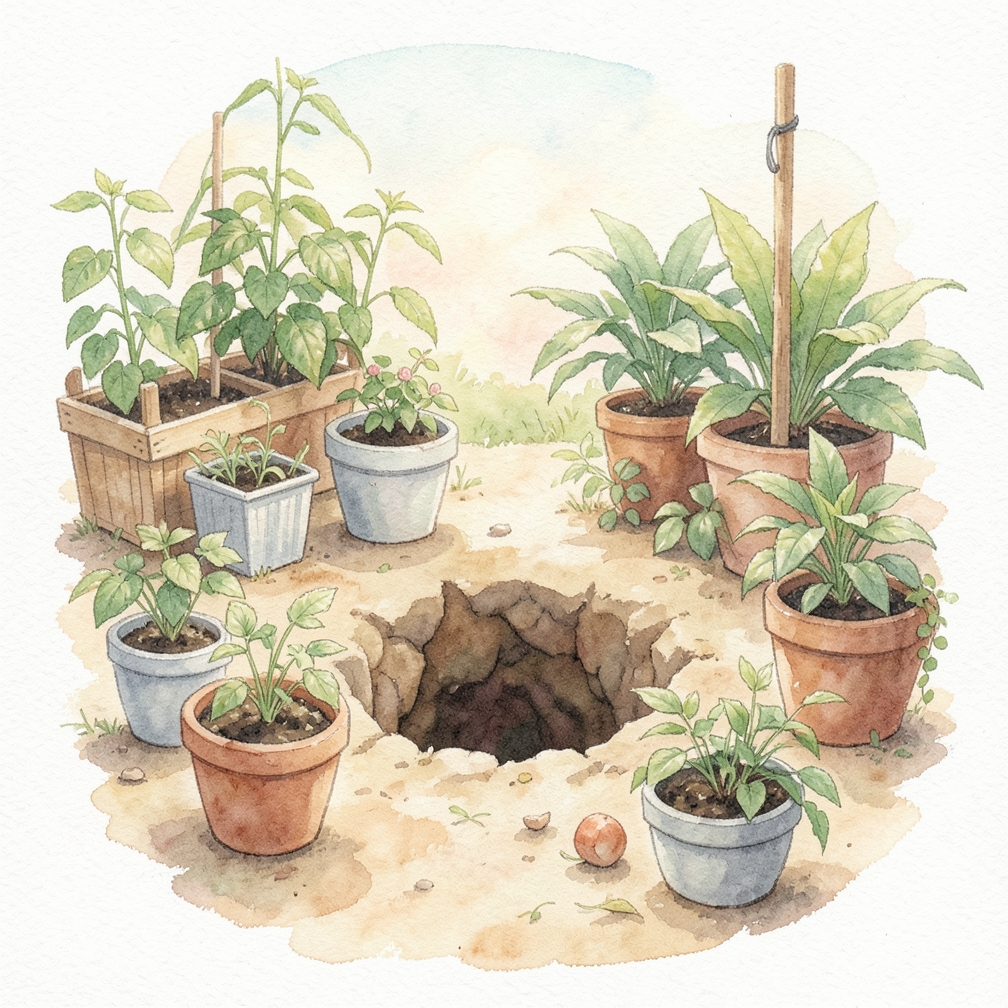
Planning to Dig
Call the municipal government to verify digging the area is safe.

- Check for underground utilities before starting your project
- Be aware of the potential risks associated with digging near utility lines
- Take necessary precautions to avoid accidents and injuries
- Whenever you are digging, you must always first consult your local utility authority about the underground utility layout, especially if you live in a suburban or even semi-rural area.
- Digging into the layout isn't just disruptive but potentially lethal if you hit electrical wires, gas lines, or water pipes.
Spray a hole outline.
- Use a can of white marking spray paint to mark the outline of your hole
- Make sure the line is visible and accurate
- Double-check your measurements before starting digging
- If your hole is going to be any bigger than a post, it is good to first have an outline of how big you'd like the hole to be.
- Without a line, diggers tend to miscalculate how big their finished hole should be.
Gather the right supplies for the job.

- A shovel is a must-have tool for digging holes
- Consider using powered equipment to make the job easier and faster
- Be aware of the potential risks associated with using certain tools or equipment
- Due to how many different types and sizes of holes can be dug, there's no all-encompassing list to turn to if you want to know what equipment you'll need.
- However, for virtually all kinds of holes, a shovel is necessary.
Use powered equipment if possible.
- Use powered equipment when possible to reduce physical strain
- Choose the right type of powered equipment for your project
- Always follow safety guidelines when using powered equipment
- Only dig by hand if you need to.
- Digging can be a very physically strenuous activity, and you will be better off if you can do it with the help of a machine.
Digging a Hole
Wait for a dry day, if possible.

- Digging in wet conditions can be challenging
- Choose a dry day to make the digging process easier and safer
- Be aware of the potential risks associated with digging in certain weather conditions
- Digging can be made very difficult if you're having to dig in rainy weather.
- If your hole is large enough, the rain will eventually pool up at the bottom of your hole, which can pose challenges depending on the type and depth of hole you're going for.
Loosen the dirt with a mattock.

- Use a mattock to loosen the dirt before shoveling
- A mattock is a specialized tool for breaking up tough soil and roots
- Be aware of the potential risks associated with using a mattock or other tools
- Instead of going straight in with a shovel, you will save time and effort if you prep the area first with a mattock.
- A mattock is specifically designed to pierce topsoil and rip out roots.
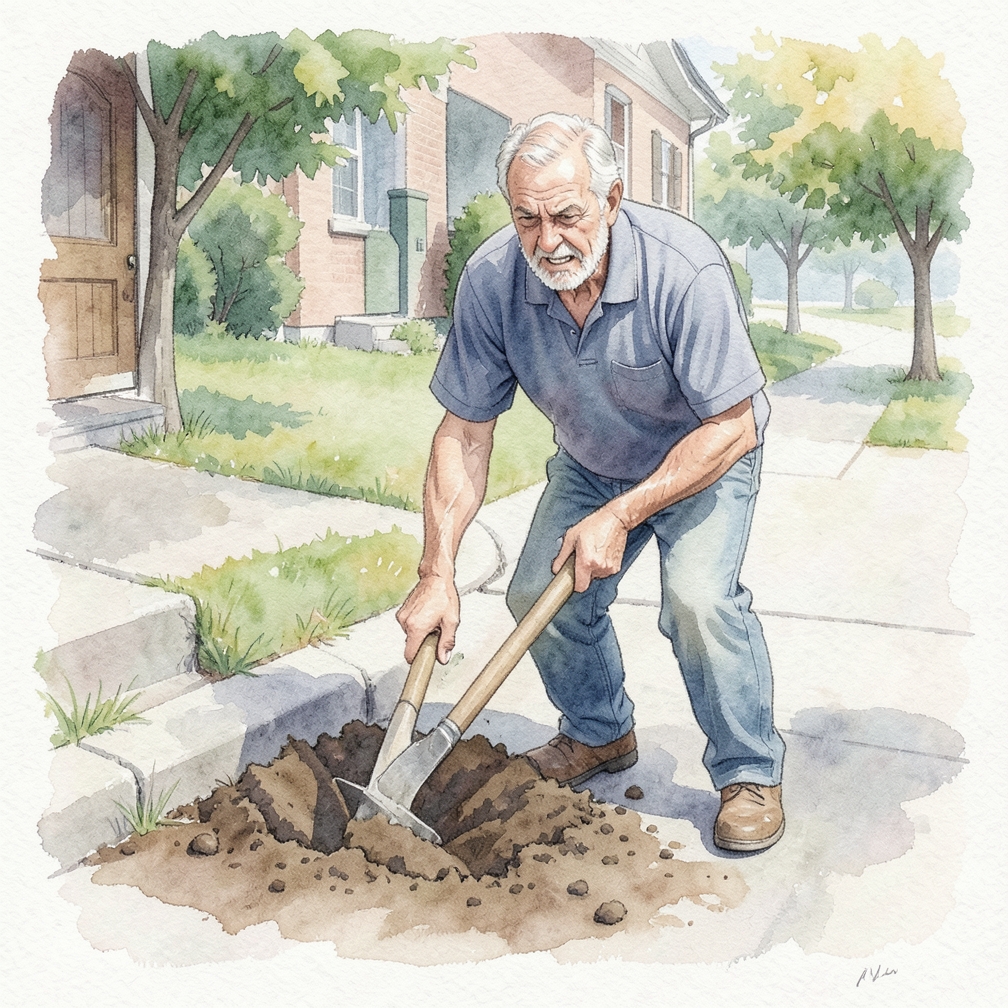
Shovel out the soil from the outside, moving inwards.
- Shovel out the soil from the outside in to maintain control
- Be aware of your body position and posture while shoveling to avoid injury
- Take regular breaks to rest and rehydrate during long digging sessions
- Once you've broken the topsoil, it comes to the grunting phase of getting the soil out of the hole.
- This may be a short step, or quite intensive, all depending on how big you want the hole to be.
Disposing of the Soil
Lay down a tarp next to your hole.

- Use a tarp or other protective covering to contain the soil
- Choose a suitable location for disposing of the soil, such as a landfill or compost pile
- Be aware of local regulations and guidelines for disposing of soil and other materials
- Once you've finished digging, lay down a tarp or other protective covering to prevent the soil from getting dirty or contaminated.
- This will also make it easier to transport and dispose of the soil later.
Send your soil to a landfill.

- Check with local authorities for specific guidelines on disposing of clean fill soil
- Ensure the soil meets all necessary regulations before sending it to a landfill
- Be aware of potential environmental impacts associated with sending soil to a landfill
- If you have enough excess soil from your digging operation and have nowhere to put it, you can send it to a landfill as a 'clean fill'.
- You can send this excess to a landfill provided the soil has not been contaminated and meets your municipality's minimum sanitary requirements.
Community Q&A
Be the first to ask a question about this guide.
References
- https://call811.com/811-In-Your-State
- https://www.utc.wa.gov/publicSafety/pipelineSafety/Pages/callBeforeYouDig.aspx
- https://www.lowes.com/n/how-to/lay-out-and-dig-a-post-hole
- https://www.familyhandyman.com/garden-structures/fences/how-to-dig-a-hole-pro-tips/
- https://www.familyhandyman.com/tools/power-tools/using-a-power-auger/
- https://www.youtube.com/watch?v=HfJAT5AOecI
- https://www.goodhousekeeping.com/home/gardening/g20706851/garden-digging-tools/?slide=5
- https://www.budgetdumpster.com/resources/how-to-dispose-of-dirt.php
- https://www.calgary.ca/UEP/WRS/Pages/What-goes-where/Clean-fill.aspx
Was this guide helpful?
26 people found this helpful
HowDadDo Around the World
Subscribe to the HowDadDo Newsletter
Get expert tips, weekly how-to guides, and dad wisdom delivered straight to your inbox. No spam, just good stuff.
Help us build the world's best
dad manual.
Every guide on HowDadDo is written and fact-checked by real people — no AI-generated fluff. Join our community of experts helping dads figure life out.