How to Clean and Maintain Your Brita Water Pitcher Properly
Maintaining a Brita water pitcher is about more than just changing the filter; it is about ensuring the vessel itself remains hygienic. Over time, mineral deposits, biofilm, and dust can accumulate in the reservoir and spout, potentially affecting the taste of your water. Learning how to clean a Brita water pitcher properly ensures that your filtration system operates at peak efficiency and that your family is drinking the cleanest water possible.
Take the pitcher apart and remove the filter.
Disassemble the pitcher to clean every piece.

- No matter what kind of Brita you have, disassembling it is easy.
- Start by removing the lid, then take the reservoir, or the piece that holds the filter, out of the pitcher.
- Finally, remove the filter and set it aside, or throw it away if it’s time to replace it.
- No matter what kind of Brita you have, disassembling it is easy.
- Start by removing the lid, then take the reservoir, or the piece that holds the filter, out of the pitcher.
Wash the lid and reservoir with soapy water.
Use a mild dish soap to clean your Brita pitcher.

- Rinse the lid and the reservoir with warm water, then use a mild dish soap and a rag or a sponge to wipe them down.
- Be sure to get into every nook and cranny to tackle germs and bacteria.
- Avoid using anything abrasive, as that could damage your Brita pitcher.
- Rinse the lid and the reservoir with warm water, then use a mild dish soap and a rag or a sponge to wipe them down.
- Be sure to get into every nook and cranny to tackle germs and bacteria.
Wash the pitcher with warm, soapy water.
Warm and soapy water will clean your Brita in no time.
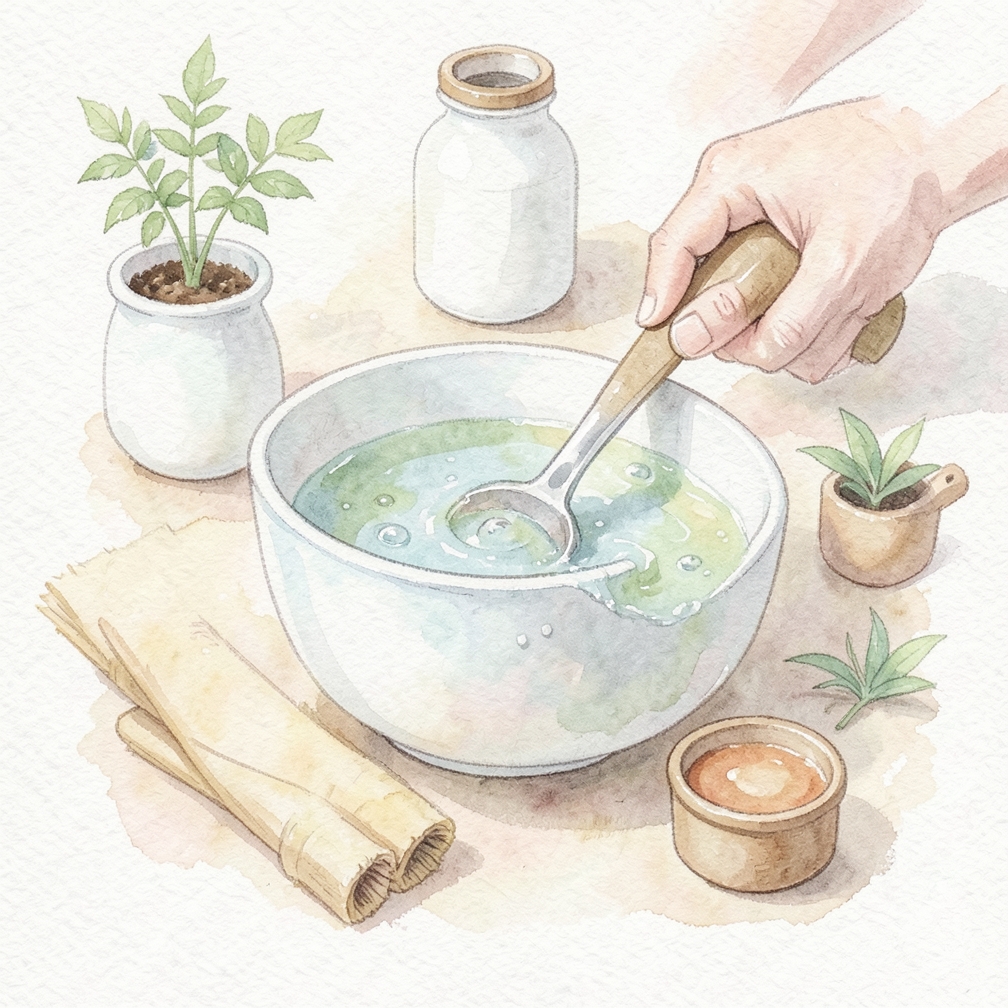
- Rinse out the inside with warm water, then use mild dish soap and a sponge or a cloth to wipe it out.
- Wipe down the outside and the handle as well to clean your entire pitcher thoroughly.
- Rinse out the inside with warm water, then use mild dish soap and a sponge or a cloth to wipe it out.
- Wipe down the outside and the handle as well to clean your entire pitcher thoroughly.
- Rinse out the inside with warm water, then use mild dish soap and a sponge or a cloth to wipe it out.
Clean mildew and limescale with vinegar and water.
Use vinegar to naturally clean your Brita without damage.

- If you’ve had your Brita pitcher for a while, you might notice some scummy mildew or white limescale as you clean.
- To remove either one, create a 1:1 ratio with warm water and white vinegar, then pour it into the pitcher.
- Scrub the inside well, then rinse the pitcher out.
- If you’ve had your Brita pitcher for a while, you might notice some scummy mildew or white limescale as you clean.
- To remove either one, create a 1:1 ratio with warm water and white vinegar, then pour it into the pitcher.
Rinse the pieces well and air dry them.
Use warm water to rinse, then let your Brita dry before reassembly.

- Make sure you get all of the soap out of each part before moving on.
- Set the pieces on a towel, and place the pitcher itself upside down so it dries faster.
- Make sure you get all of the soap out of each part before moving on.
- Set the pieces on a towel, and place the pitcher itself upside down so it dries faster.
- Make sure you get all of the soap out of each part before moving on.
Rinse the filter or grab a new one.
Prepare your filter to replace it in the pitcher.

- If you’re using the same filter, quickly rinse it with warm water and let it air dry.
- If you’re using a brand new filter, unwrap it from the packaging and set it aside before you reassemble your pitcher.
- If you’re using the same filter, quickly rinse it with warm water and let it air dry.
- If you’re using a brand new filter, unwrap it from the packaging and set it aside before you reassemble your pitcher.
- If you’re using the same filter, quickly rinse it with warm water and let it air dry.
Reassemble the pitcher.
Put your pitcher back together to start drinking water again.
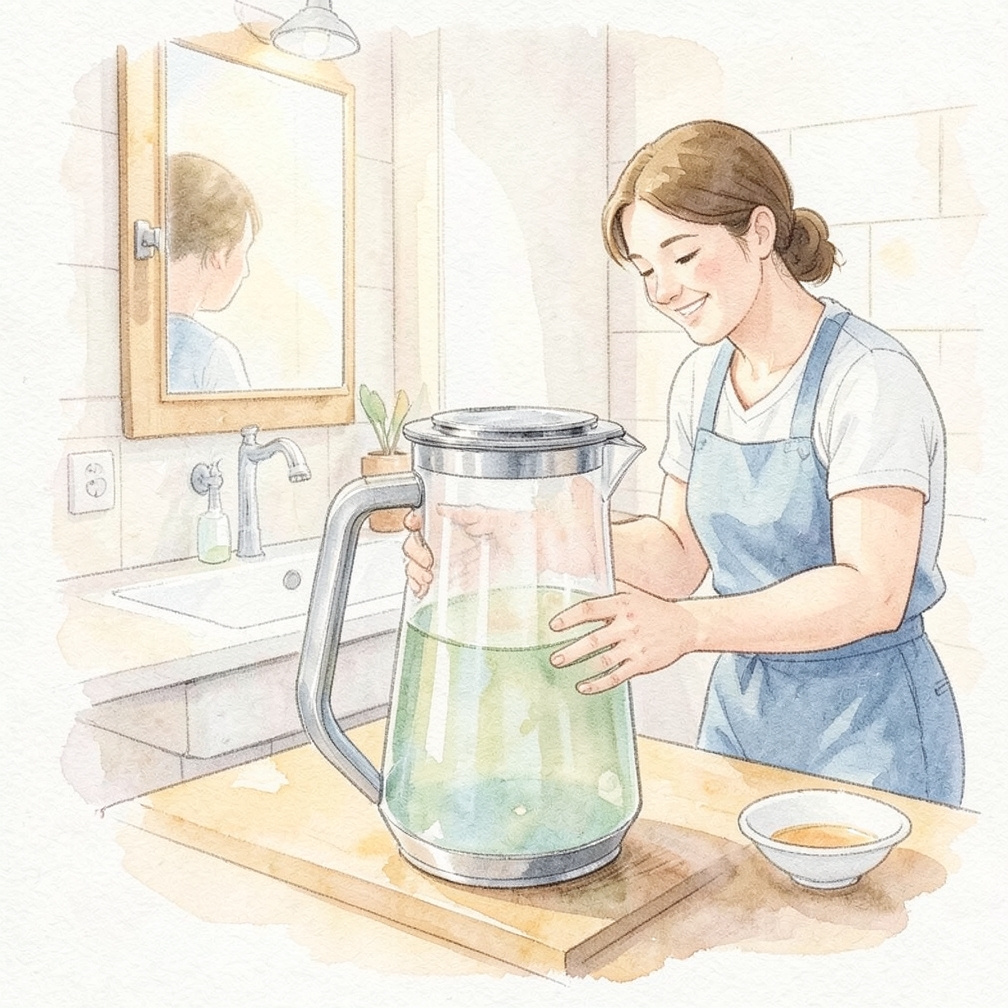
- Place the reservoir back into the pitcher itself, then reinstall the filter or replace it with a new one.
- Put the lid on top and fill the reservoir with water to enjoy a delicious glass of filtered water.
- Place the reservoir back into the pitcher itself, then reinstall the filter or replace it with a new one.
- Put the lid on top and fill the reservoir with water to enjoy a delicious glass of filtered water.
- Place the reservoir back into the pitcher itself, then reinstall the filter or replace it with a new one.
Pro Tips
- Clean your pitcher every time you change the filter to maintain a consistent hygiene schedule.
- If you notice white chalky buildup, use a diluted white vinegar solution to dissolve the minerals before the soap wash.
Warnings
- Do not put Brita pitchers in the dishwasher unless the manual explicitly states they are dishwasher-safe, as high heat can warp the plastic.
- Never use bleach or abrasive chemical cleaners, as these can contaminate your drinking water.
Community Q&A
Q How often should I clean my Brita pitcher?
A It is recommended to deep clean the pitcher every time you replace the filter, or at least once a month if you use it heavily.
Q Can I put my Brita pitcher in the dishwasher?
A Most Brita pitchers are recommended for hand-washing. Check your specific model's manual, but generally, the high heat of a dishwasher can warp the plastic.
References
Was this guide helpful?
26 people found this helpful
HowDadDo Around the World
Subscribe to the HowDadDo Newsletter
Get expert tips, weekly how-to guides, and dad wisdom delivered straight to your inbox. No spam, just good stuff.
Help us build the world's best
dad manual.
Every guide on HowDadDo is written and fact-checked by real people — no AI-generated fluff. Join our community of experts helping dads figure life out.